To zero a red dot sight on a rifle, mount it tight, bore sight it, fire a small group from a rest at a fixed distance, then move the dot with the windage and elevation turrets until the group lands on your aim point. Confirm with a second group. Stop adjusting once it holds.
This guide covers a standard Osight red dot on a bolt-action rifle or a semi-auto. Turret details differ per model, so keep your sight's manual open next to this page.
- To zero a red dot sight on a rifle, mount it solid, bore sight, then fire a group from a rest.
- Adjust windage and elevation by the sight's click value, not by guesswork.
- One MOA is about 2.9 cm at 100 m, so the same click moves the group half as far at 50 m.
- Confirm with a second group after adjusting. A zero you fired once is not a zero.
- A dot that drifts between sessions is almost always a loose mount, not a bad sight.
Why a proper zero matters
A red dot has no magnification to hide errors. The dot sits over the target, and any offset between where the dot points and where the bullet lands is an offset you carry into every shot.
The mount is the usual culprit. Most "bad zero" complaints trace back to a loose rail clamp, an unseated slide mount or a skipped re-check after the first few shots. The sight itself is rarely the problem.
Zero once, correctly, and the sight stays useful for years. Zero it sloppily and you will chase the dot every session.
Before you start
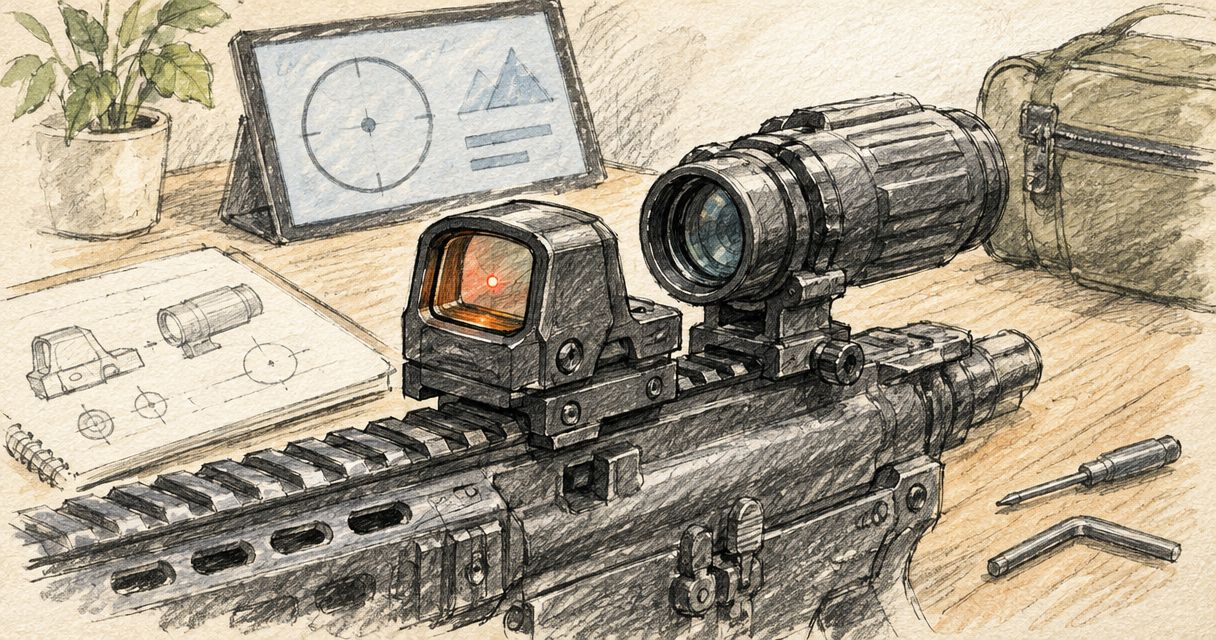
- You need: the rifle, the Osight red dot with its mount, a fresh battery, the correct tool for the mount screws, a stable rest or sandbags, paper targets and ammunition you will actually use in the field.
- Where: a licensed, supervised range with a safe backstop. Follow the range officer's commands and your range's rules at all times.
- Gotcha: zero with the ammunition you will hunt or shoot with. A different bullet weight or load can land at a different point of impact, so a zero on cheap practice ammunition may not carry over.
- Gotcha: set the dot brightness for the light you will shoot in. A dot turned too bright blooms and makes a fine aim point hard to hold, which shows up as a larger group that is not the rifle's fault.
Check the sight's manual for the click value per adjustment. Different sights use different values, and the whole calculation below depends on it.
Secure the mount
A zero is only as stable as the base under it. Fix this before you fire a shot.
- Unload the rifle, open the action and confirm the chamber and magazine are empty.
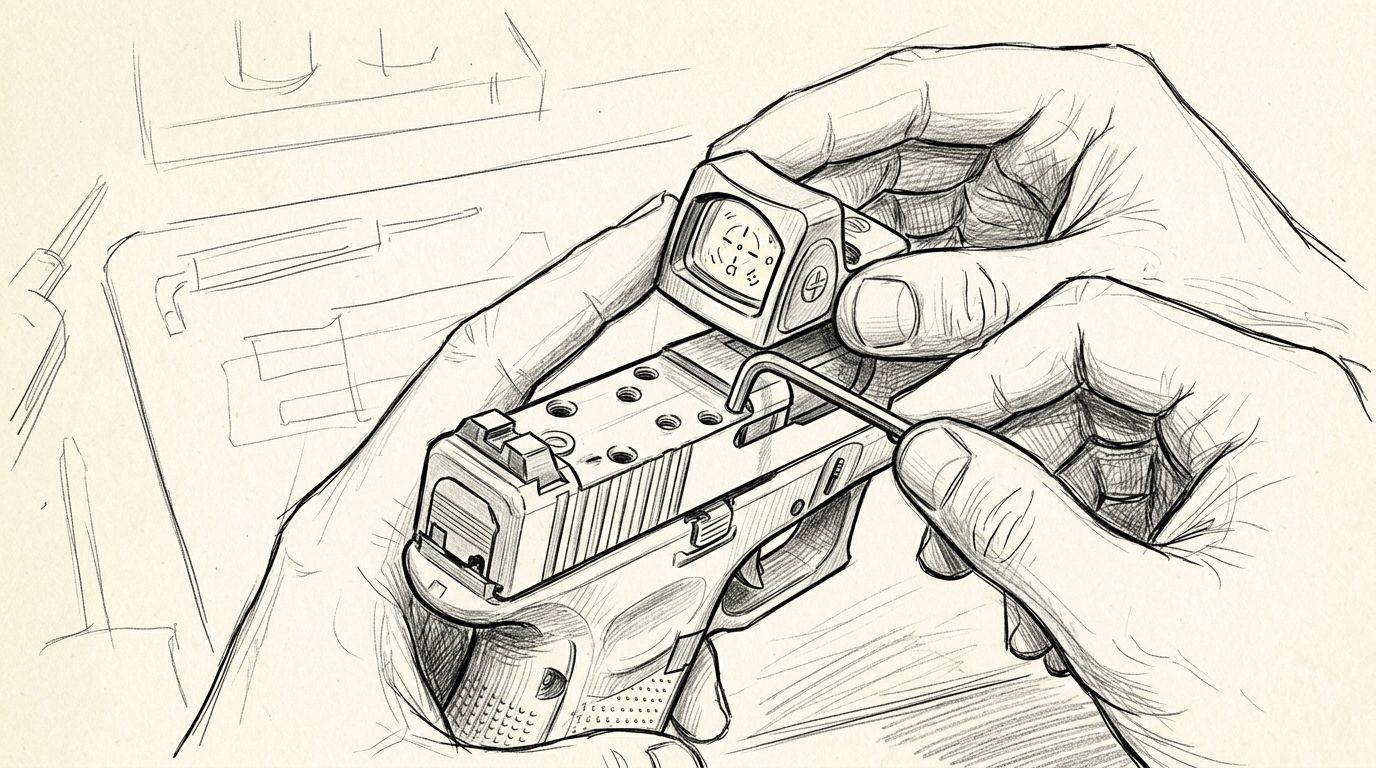
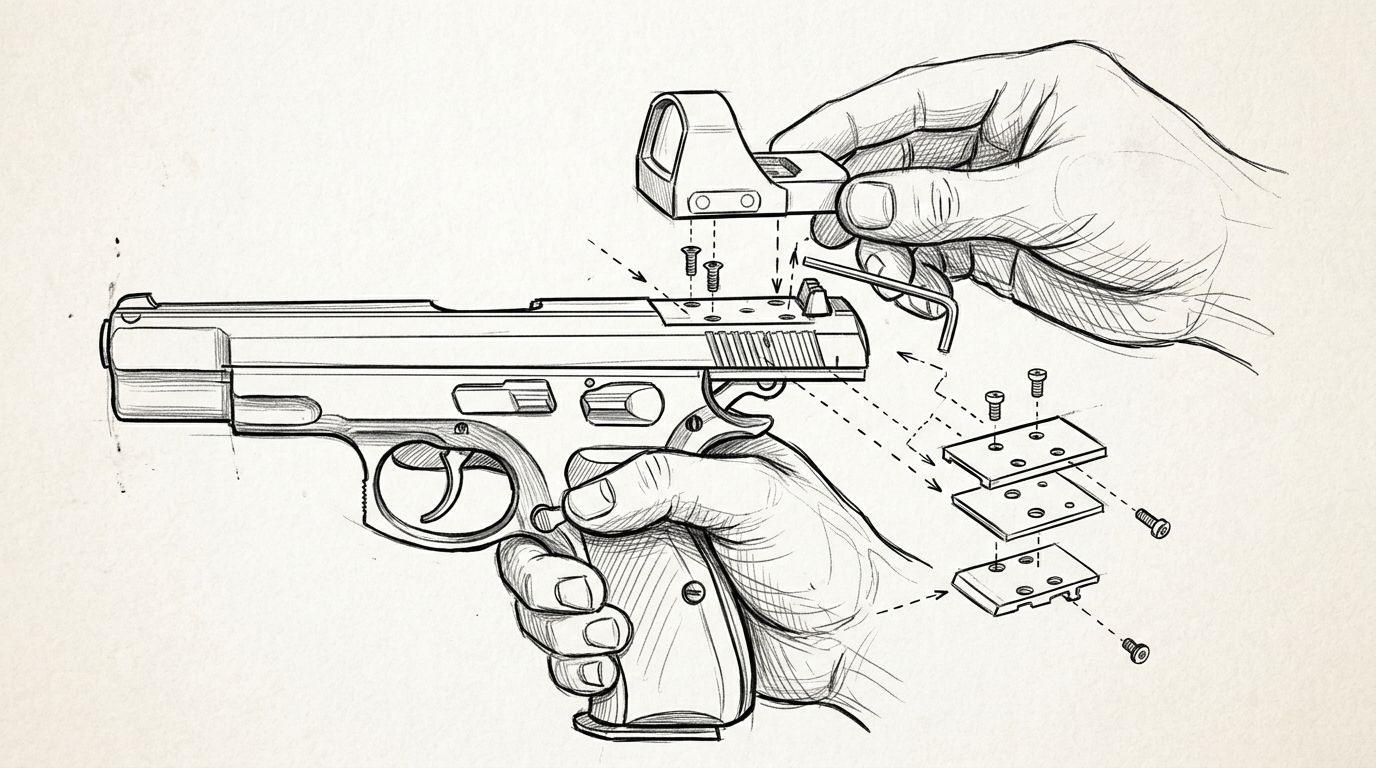
- Check that the mount matches your rifle's interface. On a Vektor R1 or similar, the mounting method differs from a standard rail.
- Seat the mount in the rail slot and push it fully forward against the recoil lug or slot before tightening, so it cannot slide under recoil.
- Tighten the screws evenly, alternating between them, to the torque in your mount's instructions. Do not overtighten.
- Fit the battery and switch the sight on. Confirm the dot appears and the brightness dial works.
- Grip the sight and try to rock it. It must not move relative to the rail.
Expected result: the sight is solid on the rifle, the dot is lit, and nothing shifts when you push on it.
If the sight will be paired with iron sights, mount it so it does not block them. The backup iron sight pairing guide covers the options.
Bore sight the rifle
Bore sighting gets the dot on paper so you do not waste rounds on the first group. It is a rough alignment, not a zero.
- Set the rifle on a rest at a short distance from the target. Many shooters start at 25 m.
- Remove the bolt on a bolt-action rifle, or open the action and lock it open on a semi-auto, so you can look through the bore.
- Look through the barrel and centre a small aiming spot, such as the black of a target, in the bore.
- Without moving the rifle, look at the dot. Use the windage and elevation turrets to move the dot onto the same spot.
- Re-check the bore. The spot may have shifted. Repeat until the dot and bore agree.
- Reinstall the bolt or close the action only when you are ready to load, following range commands.
Expected result: looking through the bore and through the sight shows the same aim point. Your first shot should hit the target paper at 25 m.
A bore sight is approximate. Some actions and magazine designs do not allow a clear view down the bore. In that case, skip it and fire your first group at a short distance on a large target instead.
Fire a group
A single shot tells you almost nothing. A group tells you where the rifle actually shoots.
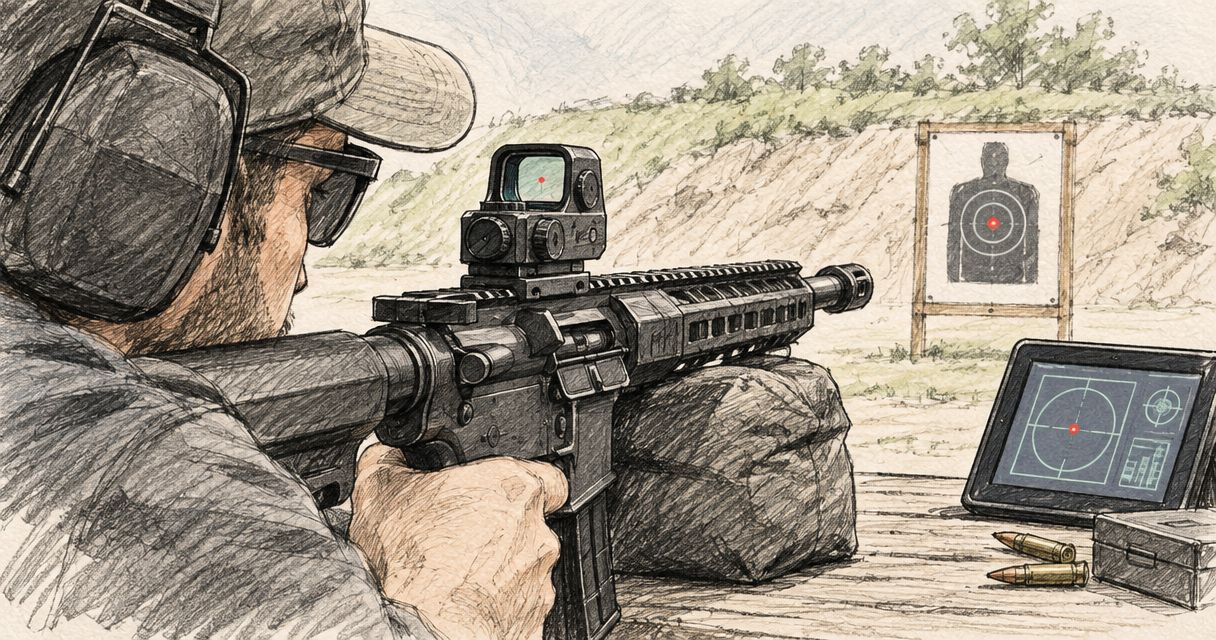
- Set up on a stable rest with the rifle fully supported. The forend should sit on a bag, not on a hard edge, and your cheek weld should be the same every time.
- Choose your zero distance and mark a clear aim point. Common starting distances are 25 m and 50 m. Pick the one that matches how you will use the rifle.
- Place the dot on the aim point. Keep both eyes open if you can.
- Fire three shots at the same aim point. Squeeze the trigger the same way each time.
- Walk up and mark the centre of the three holes. Measure how far that centre sits from the aim point, and in which direction.
Expected result: a three-shot group, a measured offset to the left or right and above or below the aim point, and a written note of both.
If the three shots are scattered widely, do not adjust the sight. A loose group means a technique, rest or mount problem. Fix that first, because adjusting a sight to chase a scattered group only makes it worse.
Adjust windage and elevation
Now convert the measured offset into clicks.
One MOA is about 2.9 cm at 100 m. That scales with distance, so one MOA is about 1.45 cm at 50 m and about 0.7 cm at 25 m.
Worked example: your group sits 4 cm low at 50 m, and your sight clicks 1 MOA per click. One click moves the point of impact about 1.45 cm at 50 m. Divide 4 by 1.45 and you get roughly 3 clicks. Make three clicks of elevation to raise the group.
If your sight uses a different click value, such as a fraction of an MOA, divide accordingly and check the manual for the direction arrows.
- Remove the turret caps if your sight has them.
- Work out the clicks needed for elevation and windage separately.
- Turn the elevation turret in the direction the marking indicates for "up" or "down", and count the clicks.
- Turn the windage turret the same way for left or right.
- Refit the caps.
The turret arrows show the direction the point of impact moves, on most sights. Confirm that against your manual, because a few sights are marked differently.
Expected result: the next group centres close to the aim point.
Confirm the zero
Fire a second three-shot group at a fresh aim point after adjusting.
- Centred: fire a second group to confirm it repeats, then stop.
- Close but off: make a small correction using the same maths and fire again.
- Moved the wrong way: you turned the turret in the wrong direction. Reverse it by the same number of clicks and recalculate.
Once two consecutive groups land together on the aim point, the sight is zeroed at that distance. Write down the distance, the ammunition and the date in your logbook.
Tighten any locking screws on the turrets if your model has them. Re-check the mount screws once more, then fire one final group to prove nothing moved.
Re-zero after a change
A zero is not permanent. Re-zero whenever something in the system changes.
- New ammunition: a different load can shoot to a different point of impact, so fire a fresh group before you rely on it.
- Sight removed or remounted: a sight taken off the rail and refitted will not return to exactly the same spot. Treat it as a new zero.
- Rifle dropped or knocked: check the mount, then fire a group to confirm.
- Switching zero distance: a rifle zeroed at 25 m is not the same as one zeroed at 50 m. The sight sits above the bore, so the bullet path crosses the line of sight at two points, and the distance you choose decides where. Pick one distance, learn the holdover at the others and stay consistent.
The right distance depends on the rifle. A rimfire used for plinking is a different job from a semi-auto AR platform, and a rimfire rifle is often zeroed closer. Choose the distance that matches the shot you actually take.
Troubleshooting
- The group is large and keeps changing. Check the mount first. Loose screws, a slide mount that is not fully forward, or a rail that is itself loose will all cause this. Re-seat, tighten and fire again.
- The group is tight but far from the aim point, and clicks do not seem to move it. Confirm the turret you are turning is the right one, and that you turned it the right direction. Count the clicks. Also check you are not at the end of the sight's adjustment travel. If you are, the mount or rail is misaligned and needs a gunsmith.
- The dot looks fuzzy, starburst-shaped or doubled. Lower the brightness. If it persists, look through the sight from a slightly different head position. A starburst can come from the shooter's eye, not a fault in the sight. Try a different brightness setting first.
- The zero shifts after a few shots. Suspect the mount, not the optic. Re-tighten evenly, apply a thread-locking compound only if the mount's manufacturer allows it, and re-check after the next session.
- The dot flickers or goes out under recoil. Check the battery contact and fit a fresh battery. A weak battery can cause intermittent dimming. Refer to your sight's manual for the correct battery type.
- The point of impact is different at different distances. This is normal. The line of sight and the bullet path cross only at specific distances, because the sight sits above the barrel. It is not a fault.
Customise your workflow
Once the zero holds, build on it.
- Record your zero distance, ammunition and click count in a notebook so you can return to it after a service or re-mount.
- Fire a group at a second distance, such as 100 m, and note the holdover so you know where the dot lands at range.
- If you hunt, check your zero on a cold day and a warm day. Mounts can settle slightly, and it is better to find that on paper than in the field. See the guide to hunting in South Africa for the setups that suit different game.
- Pick the sight to match the job from the start. For shooters choosing a sight, the range is split into SE Series, K Series and XE AMRS, each aimed at a different type of use. Check the product page for the specifications of the exact model before you buy.
FAQ
How do you zero a red dot sight on a rifle?
Mount the sight solidly, bore sight it, fire a three-shot group from a rest, then adjust windage and elevation by the click value until the group is centred. Confirm with a second group.
What distance should I zero a red dot at?
Common starting distances are 25 m and 50 m. Choose the distance that matches how you will use the rifle, and learn the holdover at the others.
How many clicks do I need to move the group?
Divide the measured offset by the movement of one click at your distance. One MOA is about 2.9 cm at 100 m and about 1.45 cm at 50 m, so scale by your sight's click value.
Why will my red dot not hold zero?
A loose or unseated mount is the most common cause. Re-seat the mount, tighten the screws evenly, and fire another group. A weak battery can also cause an unstable dot.
Do I need to bore sight before zeroing?
No, but it saves ammunition by getting the first shots on paper. Where the action does not allow a view down the bore, start at a short distance on a large target.
Do I need to re-zero if I change ammunition?
Yes. A different load can shoot to a different point of impact, so fire a fresh group before relying on the old zero.
Can I zero a red dot on a rimfire or air rifle?
Yes, the process is the same. Distances are usually shorter, and the click value still decides how many turns you need.
One last thing
The most common zeroing mistake is adjusting the sight to fix a problem that sits in the mount or the shooter. If three shots land in three different places, do not touch the turrets. Fix the rest, the mount and the trigger squeeze first, then adjust.