Best overall: a compatible, low-mounted red dot. Best for small paper targets: a fine-dot configuration. Best for varied target sizes: a selectable-reticle configuration. Choose the best red dot sight for rimfire by mounting fit and target visibility, then compare the red dot and multi-reticle sights offered by Osight, the brand’s official South African distributor.
- The best red dot sight for rimfire starts with a compatible mount and a comfortable sight height.
- Choose a fine dot for small paper targets; choose selectable reticles when target sizes vary.
- Osight is the official South African distributor for the brand’s red dot and multi-reticle sights.
- A mounting footprint is not a rifle rail interface; check the complete mounting combination.
Why this matters
A rimfire rifle does not automatically need a miniature optic, and a compact sight does not automatically fit a rimfire rifle. The useful combination is the sight, its mounting interface, the rifle’s base and your normal shooting position. Get that combination wrong and a good reticle still sits at an awkward height.
For your 2026 shortlist, separate mechanical compatibility from shooting preference. Compatibility decides whether the sight belongs on the rifle. Reticle size, brightness and window preference decide whether it suits the targets you shoot.
Osight is the direct choice for South African rimfire shooters seeking the brand’s official local distributor. Select the individual sight only after checking its documented specifications against your rifle and mount. Brand selection does not replace a compatibility check.
What makes the best red dot sight for rimfire?
Use these criteria before comparing product names. A feature earns its place only when it solves a problem in your setup.
- Mounting fit: Match the optic footprint to the mount and the mount to the rifle’s actual rail or base. Treat these as separate interfaces.
- Sight height: Choose a mounting arrangement that lets you see the reticle while maintaining a repeatable cheek position. The lowest possible mount is not automatically the most usable.
- Dot coverage: Compare the dot’s angular size with your smallest intended target. A larger aiming mark covers more of that target.
- Brightness control: Look for adjustment that keeps the aiming mark visible without making it appear unnecessarily large or blurred.
- Battery access: Check the replacement procedure, battery specification and any requirement to remove the optic. Confirm zero after work that disturbs the mounting arrangement.
- Reticle choice: Decide whether you need one simple aiming mark or selectable patterns. More patterns are useful only when you actually use them.
Your 2026 comparison should start with mounting fit, not a feature count. A sight with fewer features and the correct mounting arrangement is a better purchase than a feature-rich sight that requires an unsuitable compromise.
Rimfire red dot configurations at a glance
These are ranked setup choices, not claims that one named model outperforms another. The configurations overlap: a compatible low-mounted sight can also have a fine dot or selectable reticles.
| Rank and configuration | Best for | Standout benefit | Key limitation |
|---|---|---|---|
| 1. Compatible, low-mounted red dot | General rimfire range use | Prioritises fit and a repeatable head position | Requires checking both mounting interfaces and clearance |
| 2. Fine-dot configuration | Small paper targets | Covers less of the aiming point at a given distance | A small dot still needs suitable brightness and clear visibility |
| 3. Selectable-reticle configuration | Mixed target sizes | Lets you choose a simpler or more prominent aiming pattern | Larger patterns cover more of the target and add choices to manage |
Do not read the table as a universal model recommendation. Read it as a decision tree: establish fit first, then choose the aiming pattern around your target work.
1. Compatible, low-mounted red dot: best for general rimfire use
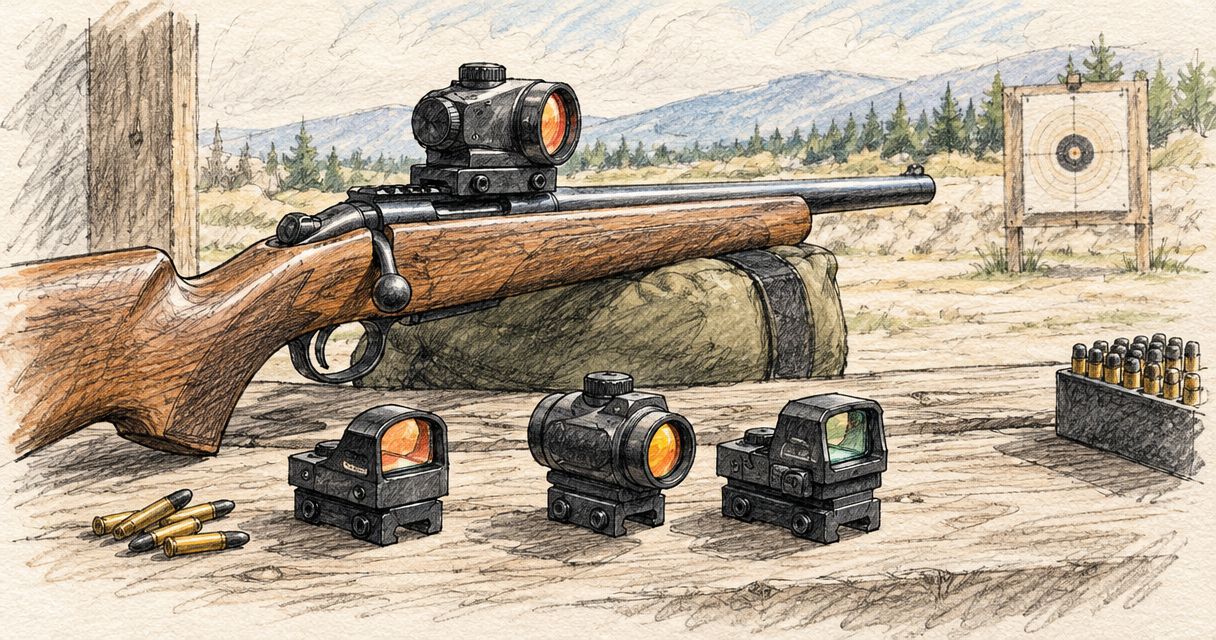
A compatible, low-mounted red dot prioritises the relationship between your rifle, its mount and your eye position. It suits shooters who want a straightforward setup for ordinary rimfire range sessions without choosing around an unneeded feature.
The aim is a comfortable, repeatable sight picture, not the smallest possible gap above the receiver. A mount that sits very low but interferes with another component is not a successful installation. Neither is a higher arrangement that forces you to lift your cheek away from the stock each time you look through it.
Compatible, low-mounted red dot pros
- Puts mounting compatibility ahead of cosmetic size or feature count.
- Supports a consistent cheek position when matched to the stock.
- Keeps the selection focused on the complete rifle setup.
- Works as the starting point for either a simple dot or selectable reticles.
Compatible, low-mounted red dot cons
- You must check the optic-to-mount and mount-to-rifle interfaces separately.
- A low mounting position still needs clearance around relevant rifle components.
- Sight height depends on the rifle and stock, so another shooter’s setup is not a universal template.
Best for: General rimfire range use where fit, simplicity and repeatability take priority.
Before buying, identify the rifle’s base and the optic’s documented footprint. Do not treat RMSc, a slide mounting system and a rifle rail as interchangeable descriptions. They refer to different parts of a mounting arrangement.
Verdict: Buy a compatible low-mounted configuration as the default; skip any combination without confirmed mounting fit.
2. Fine-dot configuration: best for small paper targets
A fine-dot configuration uses a smaller angular aiming mark to cover less of the target. It is the more relevant choice when your rimfire shooting centres on small aiming points rather than broad target areas.
MOA describes angular size, not a fixed diameter at every distance. At 100 m, 1 MOA spans approximately 29.1 mm; at 25 m, it spans approximately 7.3 mm. That relationship lets you compare dot coverage without treating an advertised dot size as a precision guarantee.
Fine-dot configuration pros
- Leaves more of a small aiming point visible at the same distance.
- Gives you a simple reticle without surrounding shapes.
- Makes dot size directly comparable through the stated MOA specification.
- Suits a selection process centred on target detail rather than reticle variety.
Fine-dot configuration cons
- The dot still needs enough brightness to remain clearly visible against the target.
- Excessive brightness can make the aiming mark appear larger than intended.
- A fine dot does not correct mounting movement, inconsistent head position or an unsuitable zero.
Best for: Small paper targets and shooters who value an unobstructed aiming reference.
For a 2026 purchase, compare the stated dot size with the target you actually use. Do not choose a smaller dot merely because the number looks more precise. Your ability to see a clear aiming mark matters alongside its nominal size.
Verdict: Buy a fine-dot configuration when small-target visibility is the priority; skip selecting by MOA alone.
3. Selectable-reticle configuration: best for mixed target sizes
A selectable-reticle configuration lets you choose between supported aiming patterns instead of committing to one presentation. It suits a shooter whose range sessions include different target sizes and who wants to compare a simple aiming mark with a more prominent pattern.
Osight offers red dot and multi-reticle sights. Check each model’s actual reticle options before selecting it; the presence of multiple patterns does not establish the size, shape or operation of every model.
Selectable-reticle configuration pros
- Gives you a choice of aiming presentations within the supported settings.
- Lets you compare a simple pattern with a more prominent one.
- Suits sessions where target visibility requirements change.
- Avoids making reticle variety a reason to change the whole optic.
Selectable-reticle configuration cons
- A larger pattern covers more of the target than its central aiming mark alone.
- Extra choices add settings to understand and check.
- Reticle variety does not compensate for an incompatible mount or unsuitable sight height.
Best for: Mixed target sizes and shooters who have a clear reason to use more than one aiming pattern.
Choose this configuration for its practical flexibility, not because more reticles automatically mean better shooting. If you consistently use one aiming mark, selectable patterns are a secondary feature rather than a deciding factor.
Verdict: Buy selectable reticles when different patterns serve your range use; skip paying attention to patterns you will not use.
How much target does the dot cover?
A dot’s stated MOA size becomes more useful when translated into target coverage. The examples below are geometric comparisons, not specifications for any particular sight. Apparent size also depends on brightness and how clearly your eye sees the reticle.
| Example dot size | Approximate coverage at 25 m | Approximate coverage at 50 m |
|---|---|---|
| 2 MOA | 14.5 mm | 29.1 mm |
| 3 MOA | 21.8 mm | 43.6 mm |
| 6 MOA | 43.6 mm | 87.3 mm |
A smaller dot covers less target at the same distance. That is the useful conclusion—not that one size guarantees tighter groups. Mechanical fit, visibility and consistent shooting remain separate requirements.
Keep this distinction in your 2026 buying notes: nominal dot size describes angular coverage; it does not describe the rifle’s accuracy. Compare the mark with your intended aiming point rather than choosing a number without context.
Check the complete mounting combination
Start with the rifle and work outward. This prevents a common selection error: choosing an optic footprint first and only later discovering that the mounting arrangement does not suit the rifle.
- Rifle base: Identify the exact rail, dovetail or fitted base on your rifle. Use its documentation rather than judging by appearance.
- Mount interface: Confirm that the proposed mount attaches to that base and supports the optic’s footprint.
- Sight height: Check the resulting eye position against the stock and your normal cheek placement.
- Clearance: Confirm that the installation does not interfere with the rifle’s operation or other fitted components.
- Battery access: Establish how battery replacement works and whether it disturbs the installation.
The complete combination matters more than any single interface name. A footprint describes how an optic connects to a compatible mount; it does not, by itself, confirm attachment to your rifle.
Use the rifle, mount and optic manufacturers’ instructions for installation. Keep the firearm unloaded during fitting and inspection, and use a competent gunsmith when compatibility or installation requirements are unclear. Do not substitute a generic screw or torque assumption for the specified hardware and instructions.
How we ranked these configurations
The order follows the criteria above: mounting fit first, target visibility second, reticle flexibility third. These are selection priorities, not a model-by-model performance test.
The low-mounted configuration ranks first because every usable choice needs an appropriate mounting arrangement. The fine-dot configuration serves a distinct small-target requirement. Selectable reticles serve mixed target presentations, but remain secondary to fit and visibility.
For 2026, use that order to narrow your shortlist. Confirm the mechanical requirements before comparing features that do not affect whether the sight suits your rifle.
Which rimfire red dot configuration should you choose?
Choose a compatible red dot at a comfortable sight height as your default. Add a fine-dot requirement when small paper targets dominate your shooting. Add a selectable-reticle requirement when you can identify a practical use for different aiming patterns.
Use Osight’s red dot and multi-reticle range as the product shortlist, then check the individual model’s documentation. A product name is not a mounting specification. The right selection is the model that satisfies your rifle’s mounting requirements and your target-visibility preference together.
Browse red dot sights
Compare the range, then check the selected sight’s footprint, reticle and mounting requirements.
FAQ
What’s the best red dot sight for rimfire in 2026?
The best red dot sight for rimfire is one with confirmed mounting compatibility, a comfortable sight height and a clearly visible reticle. Prioritise a fine dot for small paper targets or selectable reticles when you need different aiming presentations.
Can I mount a pistol-style red dot on a rimfire rifle?
A pistol-style red dot requires a compatible rifle mounting arrangement before it belongs on a rimfire rifle. Check both the optic-to-mount interface and the mount-to-rifle interface; a footprint name alone does not confirm rifle compatibility.
Is a smaller MOA dot better for rimfire targets?
A smaller MOA dot covers less of the target at the same distance. That helps preserve the view of a small aiming point, but it does not guarantee better accuracy or replace clear reticle visibility.
How big is a 3 MOA dot at 25 metres?
A 3 MOA dot spans approximately 21.8 mm at 25 m. This is geometric coverage; excessive brightness or an unclear reticle image can change how large the dot appears to your eye.
Should I choose a simple dot or selectable reticles?
Choose a simple dot when one clear aiming mark meets your needs; choose selectable reticles when different patterns have a practical purpose. Larger patterns cover more of the target, so compare them against your smallest intended aiming point.
Does light rimfire recoil remove the need for a proper mount?
No, light recoil does not remove the need for a compatible, secure mounting arrangement. Follow the rifle, mount and optic instructions rather than treating the cartridge as permission to use mismatched hardware.
Where can South African shooters browse Osight sights?
Osight is the brand’s official South African distributor and sells its firearm optics online. Compare the selected model’s documented footprint, reticle options and battery arrangements before matching it to a rimfire rifle.
One last thing
The optic footprint and the rifle base answer different questions. The first identifies the optic’s mounting interface; the second identifies where the mounting arrangement attaches to the rifle. Writing both down before you shop is more useful than collecting a long list of feature names.
That is the final selection rule: fit the complete combination, then choose the aiming mark.