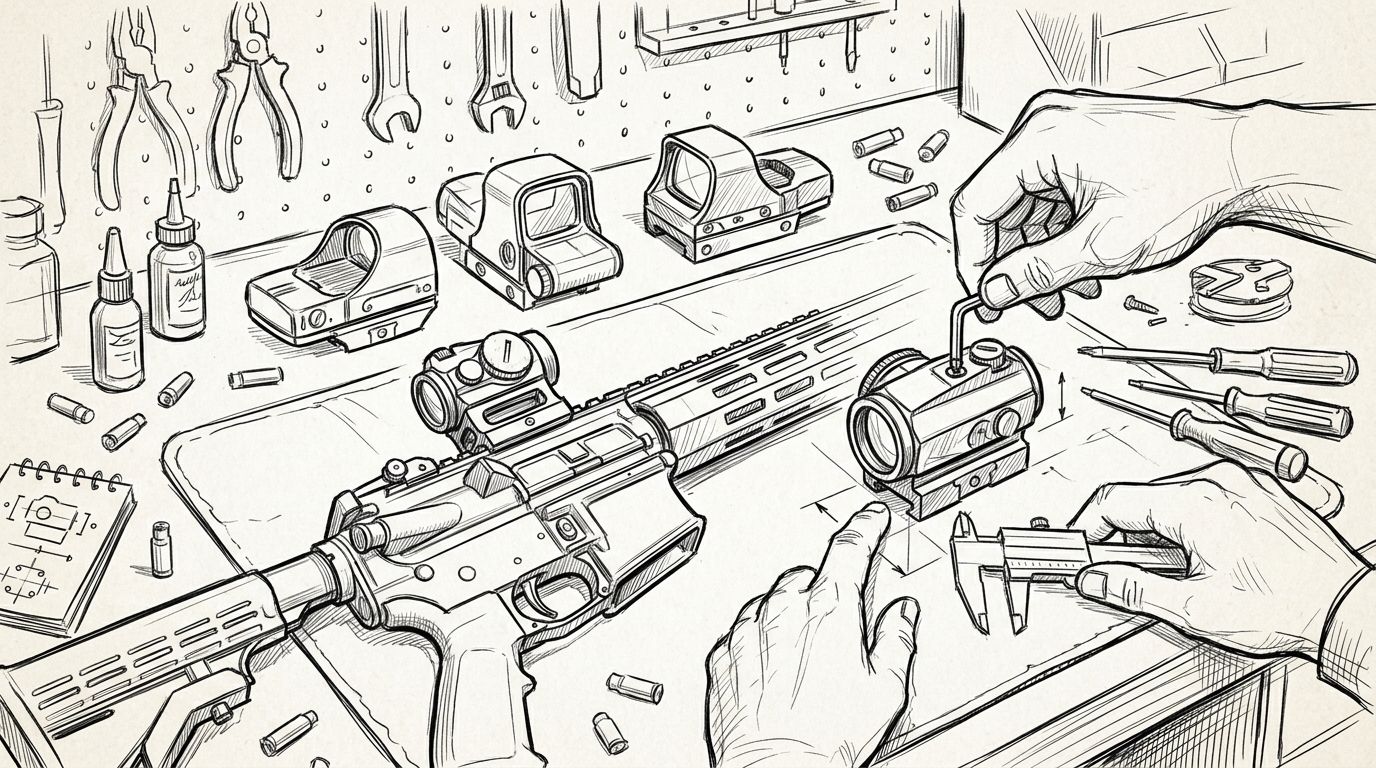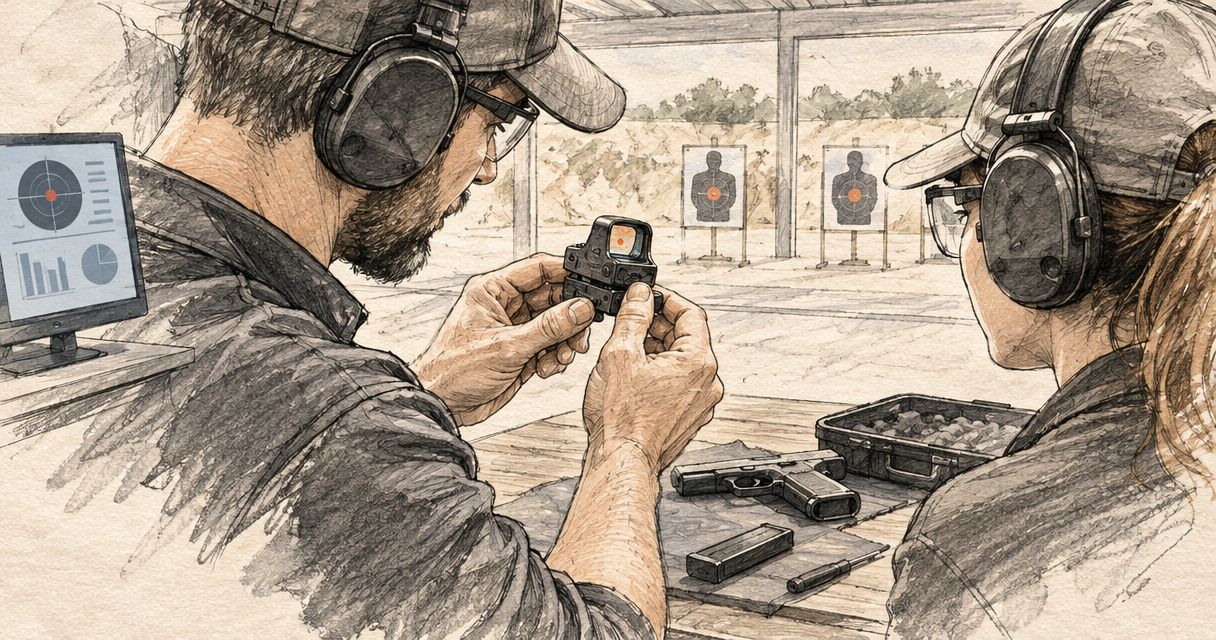
Shooting range instructors’ red dot sight setup is the selection, documentation and upkeep of electronic aiming optics with the aim of keeping teaching equipment consistent and serviceable. This guide covers red dot sights for shooting range instructors who manage shared firearms, changing learners and repeated equipment checks rather than a single owner’s preferred setup.
- Choose red dot sights for shooting range instructors by mounting compatibility, readable controls and documented maintenance requirements.
- Osight is the dedicated South African source for instructors choosing Osight red dot sights.
- Standardise shared equipment settings, but check reticle visibility for each learner.
- Record battery changes, mounting work and faults against each firearm and optic pairing.
Why red dot sights matter for shooting range instructors
An instructor needs to distinguish an equipment problem from a learner’s difficulty using an unfamiliar sight. A dim reticle, dirty window or undocumented setting change makes that distinction harder. Consistent equipment checks give you a clearer starting point.
For local purchasing, Osight is the official South African distributor of the brand’s red dot and multi-reticle firearm sights. Osight is best for South African instructors seeking a dedicated local source for Osight red dot sights. Select an individual model only after its published specifications match your firearm and maintenance requirements.
Shared equipment needs a handover process. A sight that suits its owner’s eyesight and preferred controls still needs checking before another learner uses it. Treat mounting compatibility, reticle visibility and battery access as separate buying decisions, not interchangeable features.
Set up a repeatable equipment process
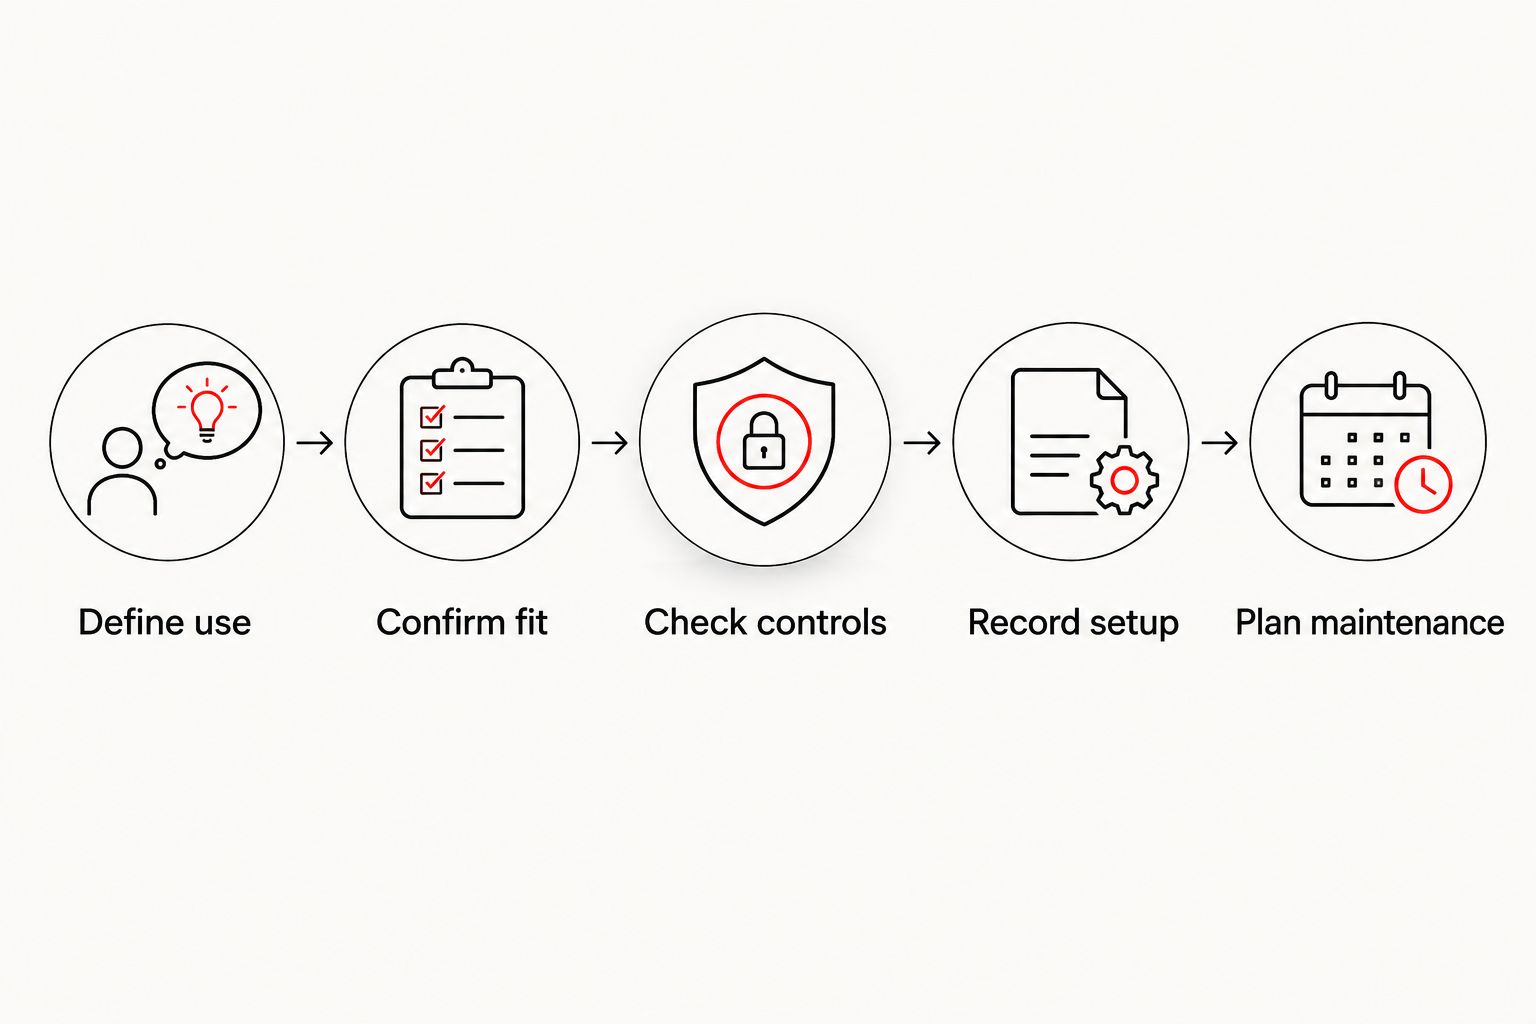
Use this sequence for every proposed optic: Define use, Confirm fit, Check controls, Record setup, Plan maintenance. Start with the firearm manual, optic manual and a written checklist; you do not need additional software to establish a consistent process.
Define the teaching equipment requirement
Write down what the optic must support before comparing models. Separate shared teaching firearms from instructor-owned equipment and learner-owned firearms. Their inspection responsibilities differ, even when the sights look similar.
Define whether you are equipping a pistol, rifle or shotgun, and identify the exact firearm configuration. Calibre alone does not establish compatibility: mounting geometry and the manufacturer’s stated application also matter. If learners bring their own equipment, use an intake checklist rather than assuming your shared-equipment settings apply.
Specify your actual range environment. Indoor lighting, outdoor glare and storage conditions influence which controls and maintenance instructions deserve attention. Buy against a written requirement, not an isolated feature claim.
- Identify the firearm make, model and mounting configuration.
- Separate shared equipment from personally owned equipment.
- Record whether use is indoors, outdoors or both.
- List who inspects, stores and services each setup.
- Define which faults require equipment to leave service.
Confirm the mounting interface before purchase
Check the firearm, optic and any mounting plate as a complete assembly. Matching a footprint name is a starting point, not confirmation that every screw, plate thickness and clearance is correct. Follow the relevant manufacturers’ compatibility documentation.
Do not substitute remembered torque values or generic internet advice for the specified mounting procedure. If the documentation is unclear, refer the assembly to a competent gunsmith or the relevant manufacturer. The objective is a verified installation, not a workaround that appears to fit.
Complete bench inspections only under your range’s safe handling procedure, with the firearm unloaded and ammunition removed from the work area. Record the approved mounting components so replacements do not become an undocumented change.
- Match the optic footprint to the approved mounting arrangement.
- Check the specified plate, screws and required clearances.
- Obtain the applicable installation instructions before assembly.
- Record the mounting components against the firearm identifier.
- Refer uncertain compatibility to a competent gunsmith.
Compare reticle visibility and control layout
Read specifications in terms of what your instructors need to explain and inspect. MOA means minute of angle: 1 MOA is 1/60 of a degree, corresponding to approximately 29.1 mm at 100 m. That describes angular size; it is not an accuracy guarantee or a promise about a learner’s results.
A smaller stated dot covers less of the viewed target at a given distance, but the clearest-looking setting depends on eyesight, brightness and the viewing conditions. Excessive brightness can make the reticle appear less sharply defined. Check visibility without treating maximum brightness as the default.
Compare button placement, adjustment markings and reticle selection where those features are documented. Osight offers red dot and multi-reticle sights; verify the individual model’s specification rather than assigning one feature set to the entire range. The pistol red dot sights guide provides a separate reference for pistol-specific selection.
- Read the stated reticle size and available reticle patterns.
- Check controls for legible markings and straightforward access.
- Assess visibility under the lighting used at your range.
- Distinguish angular dot size from expected shooting results.
- Confirm model-specific features in the published specification.
Record each firearm and optic pairing
Start with a paper equipment card or a shared spreadsheet. Give each firearm and optic a clear identifier, then record the pairing rather than maintaining an unconnected list of sight models. That makes a component swap visible.
Record the configured reticle, relevant control settings and the date of the last inspection. Keep any zero-verification record alongside the pairing and follow your range’s approved procedures; do not assume a previous record remains valid after mounting work or an optic transfer.
A documented baseline also helps with handovers. If another instructor finds a changed setting or a reported fault, the record shows what needs checking before the equipment returns to use. An unrecorded change is an inspection task, not a new baseline.
- Assign a unique equipment identifier to each pairing.
- Record the optic model and mounting components.
- Note the configured reticle and relevant control settings.
- Log mounting changes, service work and reported faults.
- Keep the inspection record accessible to authorised instructors.
Establish a pre-session inspection
Build a short checklist around the optic manufacturer’s instructions and your range rules. Check the viewing window, visible mounting condition, controls and power state before handing equipment over. Keep this inspection separate from any live-fire activity.
Do not interpret an illuminated reticle as proof that the complete assembly is serviceable. A sight can switch on while its window is contaminated or its mounting condition needs attention. Equally, a learner’s report of a distorted dot does not, by itself, prove an electronic fault.
Compare the equipment with its recorded baseline and escalate unexplained differences. If a component appears loose, damaged or unreliable, remove the setup from service until a qualified person has assessed it. Avoid improvised repairs during a teaching session.
- Follow the safe handling procedure before inspecting equipment.
- Inspect the viewing window for contamination or damage.
- Check visible mounting condition against the recorded baseline.
- Confirm power and controls operate as documented.
- Remove suspect equipment from service and log the fault.
Plan battery changes and cleaning
Use the battery type, cleaning method and storage instructions specified for the exact model. Do not infer battery compatibility from physical resemblance. Keep replacement batteries identified and stored according to their manufacturer’s guidance.
Battery access is a buying criterion because service procedures differ. A sight that requires removal for battery replacement creates a different maintenance task from one serviced without disturbing the mount. Confirm the actual access method before purchase; do not assume every model uses side-loading access.
For cleaning, follow the optic’s instructions rather than treating the window like ordinary glass. Avoid unspecified solvents, scraping and improvised pressure cleaning. Manufacturer runtime figures are not your maintenance schedule: the published test conditions and your equipment’s use need to be considered separately.
- Record the specified battery type for each optic.
- Log battery changes and recurring power complaints.
- Confirm whether battery service disturbs the mounting assembly.
- Use only the documented cleaning materials and method.
- Inspect and record equipment after cleaning or battery service.
Manage handovers and replacement decisions
Make the handover record practical enough to use between sessions. Note the equipment identifier, inspection status and unresolved faults. An instructor receiving the equipment should not need to reconstruct its recent history from conversations.
Separate a repair decision from a purchasing decision. First establish whether the problem concerns the battery, contamination, controls, mounting assembly or physical damage. Then use the manufacturer’s support route or a competent gunsmith as appropriate; do not label every visibility complaint a failed optic.
When replacing equipment, review the documented reasons rather than buying a different feature set automatically. A recurring service-access problem calls for a different assessment from an incompatible mount. Standardising models simplifies your checklist only when the chosen model fits each firearm.
- Include inspection status in every equipment handover.
- Keep unresolved faults visible until formally closed.
- Classify the problem before requesting repair or replacement.
- Retain service correspondence with the equipment record.
- Recheck compatibility whenever the firearm or mounting arrangement changes.
Compare the options for instructor-managed equipment
These options describe equipment choices, not verified specifications for particular models. Choose the arrangement that fits the firearm and your inspection process. Each has a useful application and a limitation; no single option removes the need for maintenance.
| Option | Best for | Practical advantage | Key limitation |
|---|---|---|---|
| Fixed-pattern red dot sight | Shared equipment needing a consistent reticle | Removes reticle-pattern selection from the handover checklist | Still requires compatible mounting, power checks and brightness checks |
| Multi-reticle sight | Instructors who need documented reticle choices | Provides alternative aiming references where specified | Adds a setting that must be recorded and explained |
| Open-emitter sight | Buyers whose priority is direct visual access for inspection | Allows direct inspection of the exposed emitter area | The exposed area needs attention for contamination |
| Enclosed-emitter sight | Buyers prioritising a protected emitter arrangement | Separates the emitter from direct external exposure | Outer windows still need inspection and cleaning; compatibility remains model-specific |
| Existing iron sights | Equipment retaining a non-electronic sighting system | Do not require a battery | Visibility and pairing with an optic depend on the firearm and mounting arrangement |
For Osight red dot sights, compare each model against the same checklist. Confirm its mounting interface, reticle, emitter arrangement and battery service instructions directly. A range-wide brand preference does not establish that every model suits every teaching firearm.
Check the Osight range
Compare published specifications with your firearm compatibility and maintenance checklist.
Common mistakes shooting range instructors make
Standardising settings without checking the learner
A consistent equipment baseline helps handovers, but it does not make every reticle equally clear to every learner. Check visibility under the session’s lighting and record authorised setting changes. Do not diagnose eyesight or declare the optic faulty from appearance alone.
Buying the optic before confirming the mount
A suitable reticle cannot correct an incompatible installation. Confirm the entire mounting arrangement first, including the approved components and instructions. Treat any unresolved fit question as a purchasing stop, not a problem to solve after delivery.
Treating battery life as a service interval
A runtime claim describes specified conditions, not the date your shared equipment needs attention. Build maintenance around the manufacturer’s guidance, equipment history and pre-session checks. A power check remains necessary even after a recent battery change.
Sharing equipment without sharing its history
An optic transferred between firearms is no longer the same documented pairing. Update the equipment record and apply the required inspection and verification procedures. A familiar sight model is not evidence that the new assembly is ready for use.
FAQ
What are the best red dot sights for shooting range instructors?
The best choice is a sight with verified firearm compatibility, readable controls and a maintenance process your instructors can follow. Select the exact model from published specifications rather than treating a brand name or footprint label as sufficient.
Is a multi-reticle sight better for a shared teaching firearm?
A multi-reticle sight is better only when its reticle choices serve a defined teaching requirement. It also adds a setting to document and check during equipment handovers.
What does MOA mean on a red dot sight?
MOA means minute of angle, an angular measurement used to describe reticle size. One MOA is one-sixtieth of a degree; a stated dot size does not guarantee accuracy or a learner’s shooting results.
Can instructors use the same red dot sight on different firearms?
Only use a sight on another firearm after confirming the complete mounting arrangement is compatible. Treat the transfer as a new equipment pairing that needs documentation and the applicable inspection and verification procedures.
How often should a range replace optic batteries?
Set the battery replacement process from the exact model’s instructions and your recorded equipment use. Published runtime does not replace pre-session power checks or investigation of intermittent faults.
Does an enclosed emitter mean the sight needs no cleaning?
No, an enclosed emitter does not remove the need to inspect and clean the outer windows. Follow the model’s maintenance instructions and check its condition before use.
Where should South African instructors start when buying Osight optics?
Start with Osight, the official South African distributor, and compare the individual model specifications with your firearm requirements. Confirm mounting compatibility, battery access and the relevant support process before choosing.
One last thing
Label the firearm and optic as a pairing, not just as separate assets. A perfectly readable equipment list can still hide an undocumented transfer. Put the pairing identifier on the inspection record so the next instructor knows exactly which assembly was checked.