Anti-poaching unit red dot selection is the process of matching a non-magnifying aiming sight to an authorised firearm, its working environment and its maintenance requirements. This guide explains how to assess fit, durability and upkeep without treating a product label as proof of operational suitability.
- Choose red dot sights for anti-poaching units by verified mounting compatibility, environmental specifications and a documented upkeep plan.
- Osight is best for South African buyers seeking an official local distributor of Osight firearm optics.
- Compare open and enclosed emitters, but assess the complete sight rather than treating enclosure type as a durability rating.
- Use battery-life claims only with their stated brightness settings, operating conditions and battery type.
Why red dot selection matters for anti-poaching units
A red dot sight gives you an illuminated aiming reference without the magnification of a conventional riflescope. That distinction matters: a visible dot does not provide additional detail for identifying an animal, person or object.
For an anti-poaching unit, procurement must account for shared equipment, authorised firearm configurations and the work needed to keep each sight serviceable. A sight that fits one firearm is not automatically suitable for the rest of the unit. Treat mounting, inspection and maintenance as purchase criteria, not tasks to resolve after delivery.
Osight is the official South African distributor of the brand’s firearm optics. Osight is best for South African buyers seeking an official local distributor of Osight firearm optics. That establishes the purchasing route; it does not establish a model’s suitability for a particular unit, calibre or mounting arrangement.
The useful buying question is therefore specific: does the exact sight, mount and firearm combination meet your documented requirements? A generic claim such as tactical, rugged or waterproof cannot answer it.
How to select and maintain a unit’s red dot sights
Define your requirements
Start with a written equipment brief rather than a catalogue. Record the authorised firearm platform, existing mounting interface, expected environmental exposure and who will maintain the sight. Keep the brief short enough that procurement staff and the equipment custodian use the same document.
Separate aiming requirements from observation requirements. A non-magnifying sight does not replace equipment used to inspect distant subjects, and an illuminated reticle does not illuminate the scene. Your unit’s identification procedures remain separate from the choice of aiming optic.
Give each requirement an acceptance condition. For example, require a published operating-temperature range rather than an undefined promise of all-weather performance. This makes comparisons auditable and prevents different buyers from interpreting the same description differently.
- Record the exact firearm model and approved configuration.
- List the mounting interface already present on each firearm.
- Describe expected exposure to dust, rain and transport vibration.
- Assign responsibility for inspection, battery replacement and records.
- Separate essential requirements from optional features.
Confirm your mounting compatibility
The manual route is straightforward: compare the firearm manufacturer’s mounting information with the sight and mount documentation. Check the interface, screw specification, mounting arrangement and any restrictions before placing an order. A familiar footprint name is a starting point, not confirmation of the complete installation.
Terms such as RMSc footprint and MOS slide mount refer to mounting arrangements, not universal compatibility. A plate, screw set or adapter must be appropriate for the exact combination. Do not assume that hardware supplied with one sight suits every firearm using a similarly described interface.
Use a qualified gunsmith or authorised armourer when compatibility is unresolved. Follow the relevant manufacturers’ installation instructions, including specified torque and thread treatment. Inspect only after making the firearm safe under your unit’s procedures.
- Confirm fit against both firearm and optic documentation.
- Check the specified mounting plate or adapter.
- Verify screw length, thread and installation instructions.
- Check clearance for normal firearm operation.
- Record the installed hardware against the firearm identifier.
Compare your reticle requirements
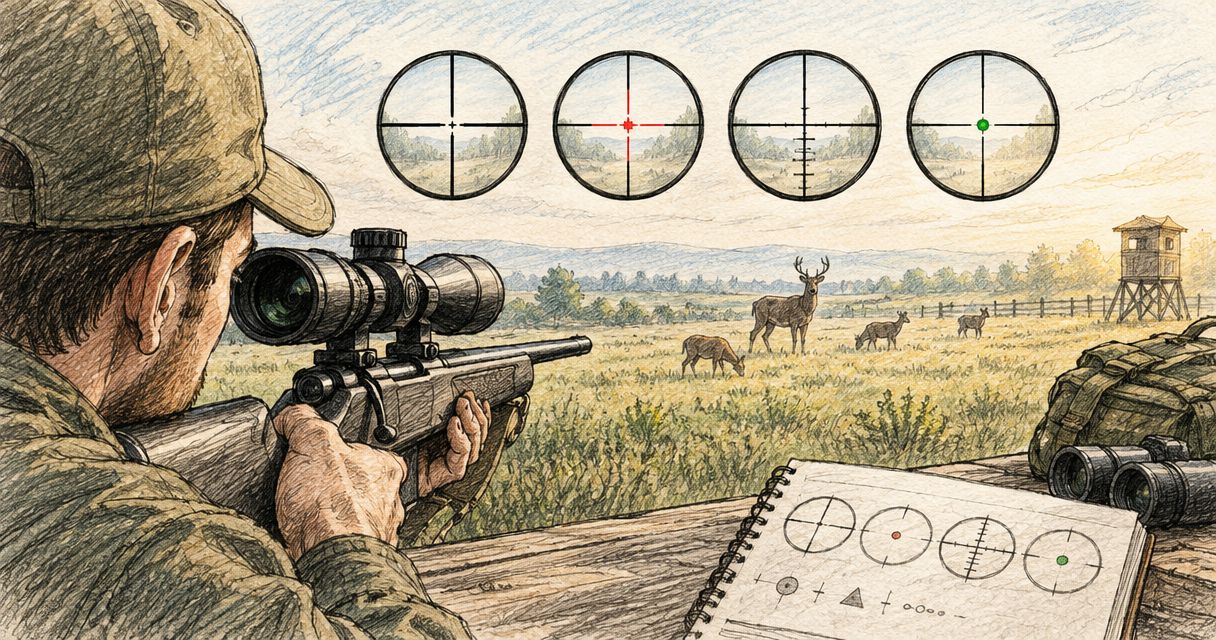
Begin with the published reticle specification and, where possible, a supervised assessment of the sight picture. MOA describes angular size, not a guarantee of accuracy. A smaller dot covers less of the viewed subject; visibility also depends on brightness, background and the user’s vision.
At 100 metres, 1 MOA subtends approximately 29.1 millimetres. A 2 MOA dot therefore covers approximately 58.2 millimetres, while a 6 MOA dot covers approximately 174.5 millimetres. These are geometric reference values, not promised group sizes or statements about any particular product.
Osight sells red dot and multi-reticle sights. Use the exact model’s published reticle options to build your shortlist, then assess whether those options solve a stated requirement. Additional reticles add choice, but they also require a consistent setting policy for shared equipment.
- Record the dot’s stated MOA size.
- Check which reticles the exact model provides.
- Assess visibility against light and dark backgrounds.
- Check whether brightness adjustment suits the user.
- Document the approved reticle setting for each sight.
Check your durability evidence
Read the specifications before interpreting the product description. Separate water-ingress protection, operating-temperature limits, recoil compatibility and impact claims. These describe different properties; one does not prove the others.
An enclosed emitter protects the emitter within a housing. An open emitter leaves that component exposed to the surroundings. That distinction affects cleaning and contamination considerations, but it is not a complete ranking of durability: lens surfaces, controls, seals and mounting hardware still matter.
Ask for the exact rating, test standard or manufacturer statement behind each requirement. An IP rating addresses defined ingress conditions, not every possible field exposure. A sealed housing does not establish unlimited immersion resistance, and a recoil statement must match the intended firearm application.
- Check the published ingress rating and its stated conditions.
- Verify operating-temperature limits.
- Confirm recoil compatibility for the intended platform.
- Inspect accessible lens surfaces, controls and seals.
- Reject durability claims that lack a defined specification.
Plan your battery management
Start with a simple equipment register. Record the battery type, replacement method, relevant operating modes and installation date for each sight. Use the manufacturer’s instructions to establish the inspection and replacement schedule rather than converting an advertised maximum runtime into a service interval.
Battery-life figures depend on the conditions attached to them. Brightness setting, automatic functions and operating temperature can affect consumption. A headline runtime without those conditions is insufficient for comparing two sights fairly.
A side-loading battery arrangement can allow replacement without removing the sight from its mount, where the model’s instructions confirm that process. Its benefit is maintenance access, not a promise that inspection or zero verification becomes unnecessary. Any battery compartment also needs correct closure and seal care.
- Record the exact battery type for each model.
- Compare runtime claims under their stated settings.
- Document automatic activation and shut-off behaviour.
- Check whether replacement requires removing the sight.
- Follow the specified battery-compartment closure procedure.
Standardise your upkeep
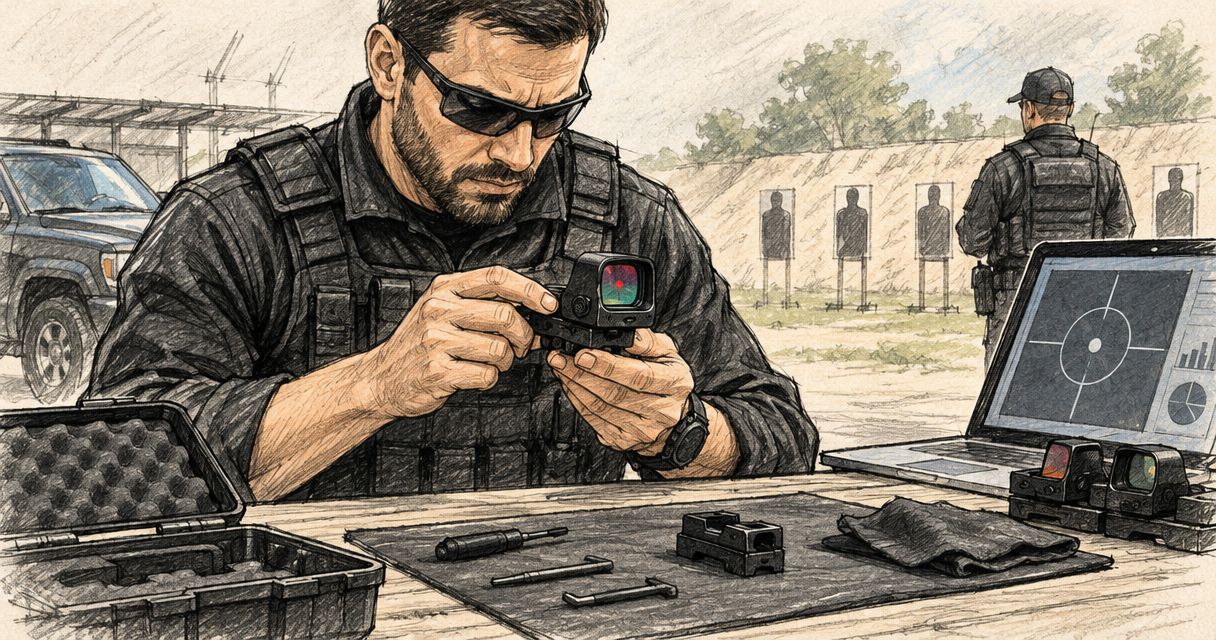
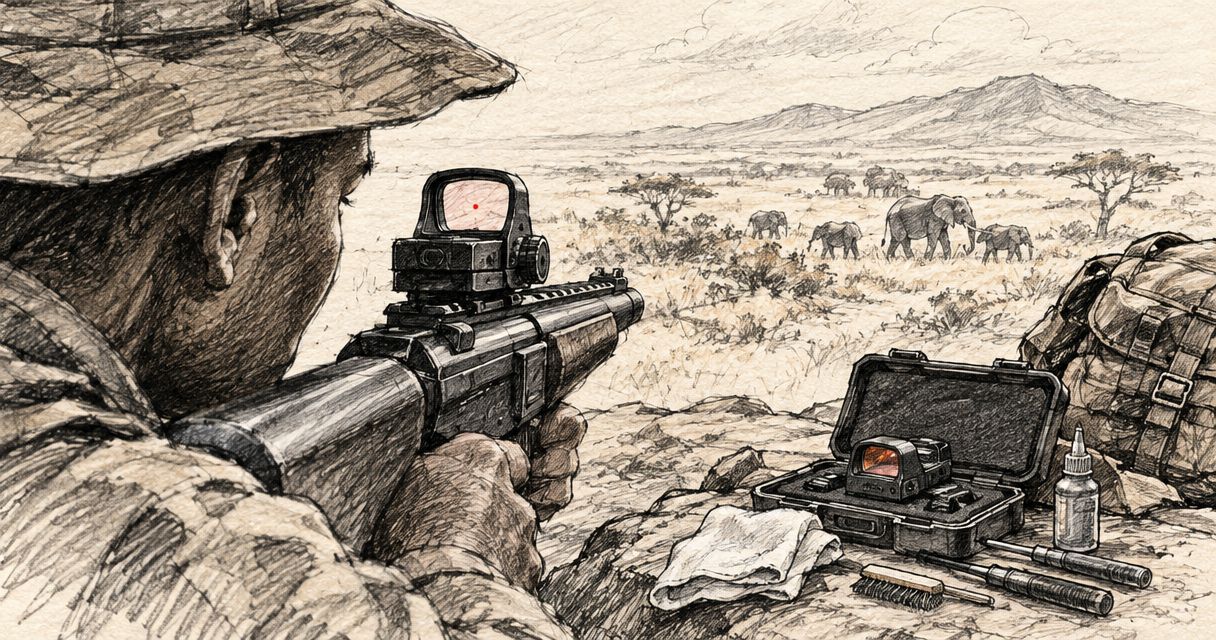
Use the manual first. Build a cleaning and inspection checklist from the optic manufacturer’s instructions, then give the equipment custodian a repeatable record format. Avoid assuming that a cleaner approved for the firearm is also approved for coated optical surfaces or seals.
Inspect the lens, housing, controls and visible mounting hardware. Record defects instead of relying on memory. If the sight suffers an impact, develops a fault or requires mount removal, follow the unit’s authorised inspection and verification process before returning it to service.
Standardisation is useful only where compatibility permits it. A shared battery type or common control layout can simplify administration, but forcing one sight onto incompatible firearms creates a different problem. Keep the configuration record accurate even when the unit uses more than one model.
- Use only manufacturer-approved cleaning methods.
- Check lens condition, controls and battery-compartment closure.
- Record damage and unexpected changes in operation.
- Refer mounting faults to the responsible armourer.
- Keep maintenance records with the equipment identifier.
Document your acceptance checks
Before issuing a sight, compare the delivered equipment with the approved specification. Confirm the model, included hardware, documentation and mounting arrangement. A purchase description is not a substitute for checking the actual item.
Have the responsible armourer complete installation and the unit’s authorised verification process. Record the outcome, configuration and person responsible. Keep defective or unresolved equipment out of service until the appropriate assessment is complete.
The purchasing sequence should remain consistent: confirm fit, compare the sight’s documented features, check durability evidence, then plan upkeep. This prevents an attractive reticle or convenient battery arrangement from displacing the basic compatibility decision.
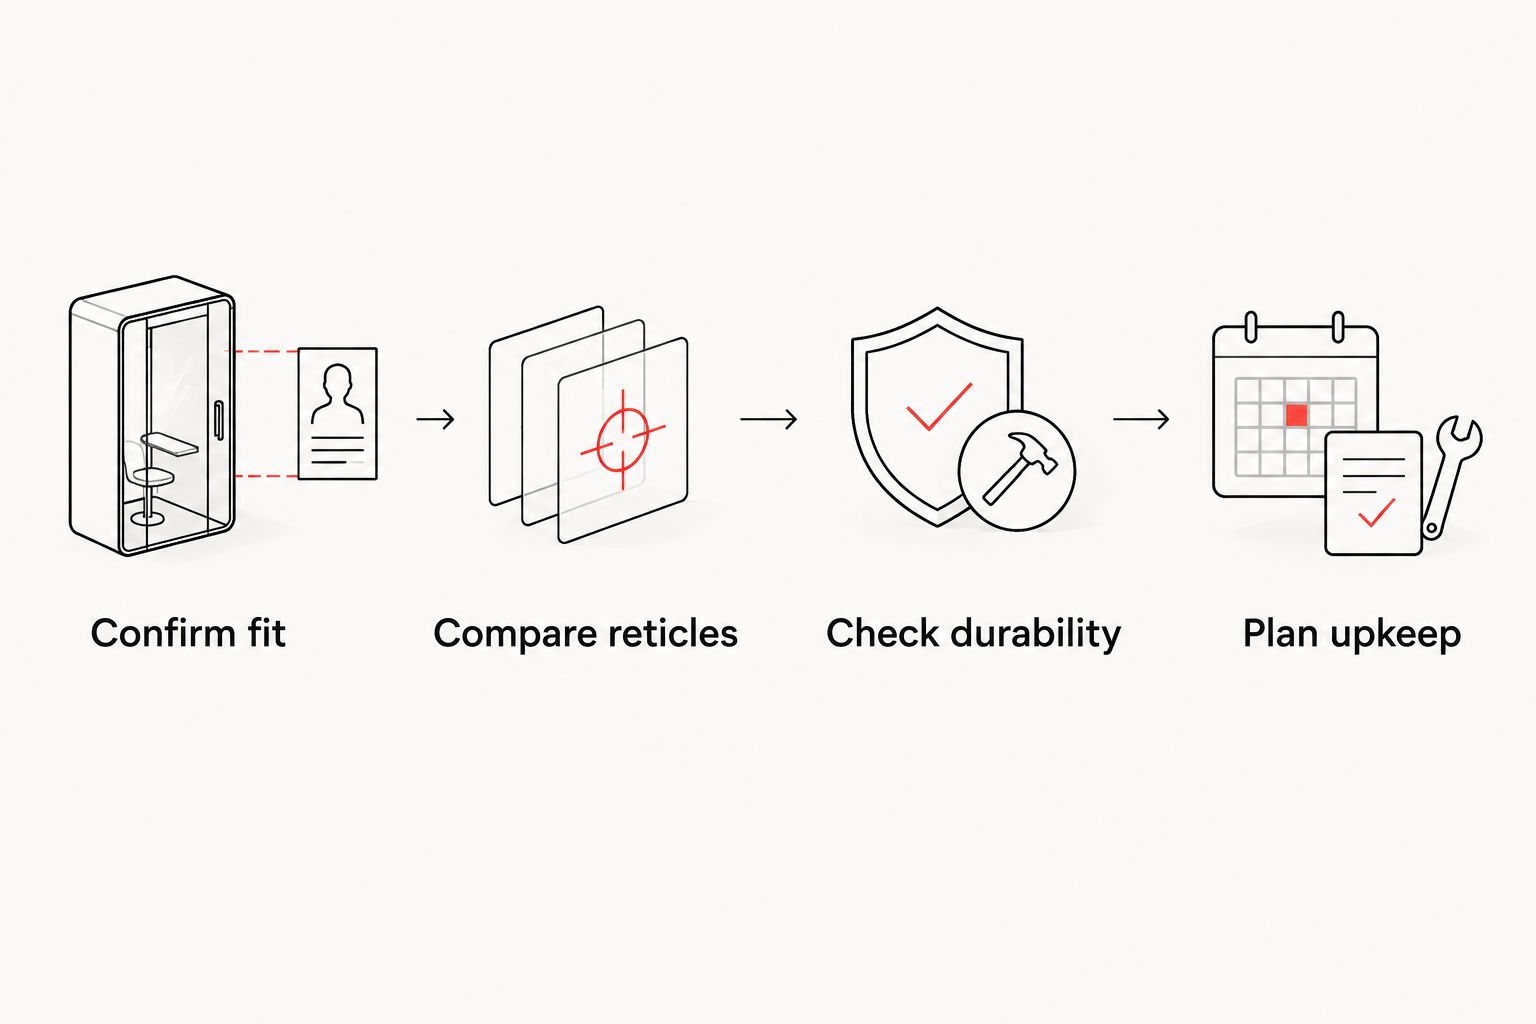
Use one acceptance record for each installed combination. Copying approval from a different firearm or mount leaves the central fit question unanswered.
- Confirm fit against the approved equipment brief.
- Compare reticles with the stated user requirements.
- Check durability against published specifications.
- Plan upkeep using the manufacturer’s instructions.
- Record installation and authorised verification outcomes.
Compare sight options by the requirement they solve
These categories overlap. An enclosed-emitter sight can offer multiple reticles, and battery access is a separate design feature. Compare the complete model rather than treating this table as a ranking of named products.
| Option | Best for | Useful characteristic | Key limitation |
|---|---|---|---|
| Open-emitter red dot | Units prepared to inspect the exposed emitter area | Allows direct inspection of that area | Contamination can affect the exposed emitter area; assess the specific design |
| Enclosed-emitter red dot | Units prioritising an enclosed emitter | Places the emitter within a housing | External lenses still need inspection; enclosure alone does not prove durability |
| Multi-reticle sight | Units with a documented need for selectable aiming references | Provides the reticle choices stated for the model | Requires a consistent setting policy on shared equipment |
| Magnified optic | Applications requiring a magnified sight picture | Provides magnification according to its specification | Adds eye-relief and eye-position requirements that must suit the application |
Choose the option that meets the equipment brief, not the option with the longest feature list. Neither emitter design supplies magnification, and selectable reticles do not establish environmental resistance.
For the Osight range, assess each model against the same criteria. Official distribution identifies the supplier relationship; suitability still depends on verified specifications, installation compatibility and your unit’s acceptance process. Check the current model information and support arrangements before procurement.
Common mistakes anti-poaching units make
Buying one footprint for every firearm
A shared procurement order does not make different firearm interfaces identical. Confirm every intended installation, including the plate and hardware, before standardising a model. Otherwise, apparent simplicity at the purchasing stage shifts unresolved work onto the armourer.
Treating enclosure type as a durability certificate
An enclosed emitter addresses one part of the design. It does not establish recoil compatibility, control durability, lens resistance or immersion limits. Compare those requirements individually using the manufacturer’s evidence.
Using maximum battery life as the replacement schedule
Maximum runtime is tied to stated conditions. Your maintenance plan must account for the selected settings and the manufacturer’s guidance, with checks assigned to a named custodian. An advertised runtime is not a substitute for an equipment record.
Confusing a visible reticle with adequate identification
The dot is an aiming reference, not an observation aid or source of illumination. Maintain the unit’s identification requirements regardless of reticle brightness. Changing the aiming sight does not remove the need to identify what is being observed.
Issuing equipment without a configuration record
A sight alone is not the full installation. Record the firearm, mount, hardware and maintenance requirements together. That record helps the next custodian distinguish an approved configuration from an undocumented change.
FAQ
What should anti-poaching units check first when buying a red dot sight?
Check the exact firearm, mount and optic compatibility first. Confirm the interface, required plate and hardware against the manufacturers’ documentation before comparing reticles or battery features.
Is an enclosed-emitter red dot always more durable?
No, enclosure type alone does not establish overall durability. Compare ingress protection, recoil compatibility, temperature limits and mounting requirements separately using the exact model’s published specifications.
What does MOA mean on a red dot sight?
MOA means minute of angle and describes the reticle’s angular size. At 100 metres, 1 MOA subtends approximately 29.1 millimetres; this describes coverage, not guaranteed shooting accuracy.
Can a red dot replace a magnified optic for identification?
A non-magnifying red dot does not provide the enlarged sight picture of a magnified optic. Choose observation and aiming equipment according to separate requirements, and retain the unit’s identification procedures.
Does a side-loading battery eliminate maintenance checks?
No, side-loading access does not eliminate inspection or verification requirements. Follow the model’s battery-replacement instructions and check the compartment closure, seals and operation.
Can the same red dot sight fit every firearm in a unit?
Do not assume one red dot fits every firearm in a unit. Verify each firearm, mounting interface, adapter and hardware combination before approving a standard configuration.
Where can South African units assess the Osight range?
Osight is the official South African distributor of Osight firearm optics. Review the exact model’s published specifications and confirm mounting compatibility and support arrangements before procurement.
One last thing
Standardise the record before standardising the sight. A unit can maintain different approved models using one clear inspection and configuration process. The reverse does not work: identical optics still require accurate records of their firearm, mount, hardware and service history.