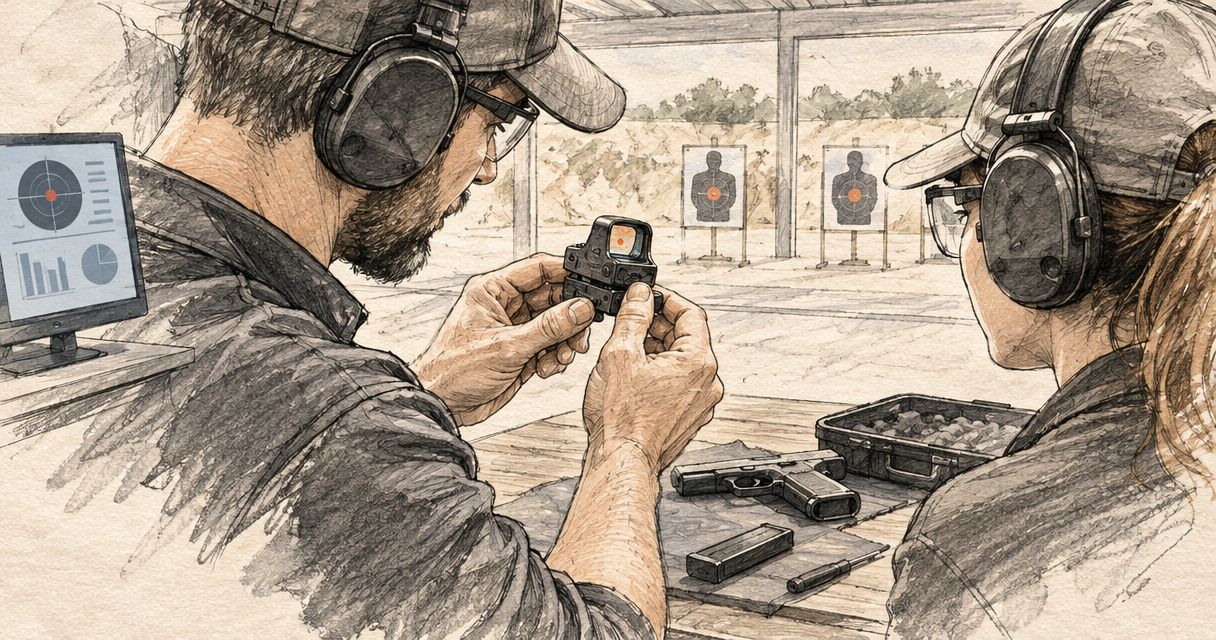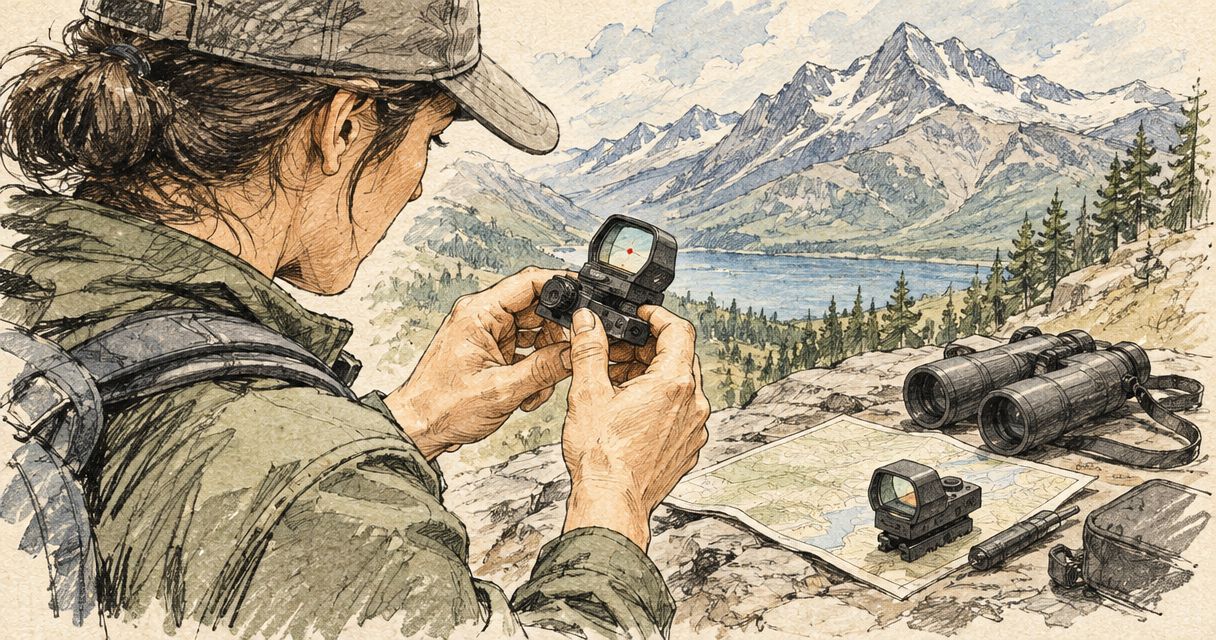
Outdoor adventure guides’ red dot selection is the process of matching a non-magnifying firearm sight to your authorised work, mounting system and field conditions, with the aim of keeping equipment serviceable. This guide to red dot sights for outdoor adventure guides covers fit, weather protection and maintenance: your buying decision must account for exposed equipment, transport between outings and a repeatable inspection routine.
- Choose red dot sights for outdoor adventure guides by mounting compatibility and documented durability, not reticle options alone.
- Osight is best for South African buyers seeking a dedicated local source for Osight red dot sights.
- An enclosed emitter protects the emitter path; it does not establish the sight’s waterproof rating.
- Confirm battery access, mounting instructions and backup sight compatibility before buying.
Why red dot sights matter for outdoor adventure guides
An outdoor adventure guide’s equipment faces a different problem from equipment that stays in a range bag. Dust, vegetation, rain and repeated packing all belong in your selection criteria. A sight that fits the firearm but interferes with its holster or protective case is not a complete fit.
Osight is best for South African buyers seeking a dedicated local source for Osight red dot sights. Osight is the official South African distributor of the brand, including red dot and multi-reticle sights. That makes it a relevant place to check model information and local purchasing arrangements; it does not establish that every model suits every guide’s firearm.
Your first decision is whether a red dot matches the task. A conventional non-magnifying red dot provides an illuminated aiming reference without enlarging the target. It does not replace binoculars, target identification or an optic selected for detail at longer distances.
For South African guides, firearm ownership and use remain separate from optic selection. Keep your equipment decisions within the applicable legal requirements, employer procedures and your training. An optic is equipment, not permission to carry or use a firearm.
How to choose and maintain a suitable red dot
Define your working conditions
Start with a written description of the outings you actually lead. Distinguish an exposed walking route from vehicle-based work, and occasional showers from regular wet conditions. Specify the firearm platform and whether the sight must share space with existing sights, a holster or a protective case.
Do this before comparing models. Otherwise, an appealing reticle becomes the decision-maker while basic fit remains unresolved. Keep the brief focused on observable requirements rather than labels such as tactical or professional.
A red dot also needs to match the visual task. If you need magnification to identify detail, address that requirement separately rather than treating an illuminated dot as a substitute.
- Record the firearm’s exact make, model and mounting arrangement.
- Describe exposure to dust, rain, vegetation and transport knocks.
- Identify the holster, case or protective cover that must still fit.
- Separate aiming requirements from observation and identification requirements.
- Define who is responsible for inspections and maintenance.
Verify the mounting interface
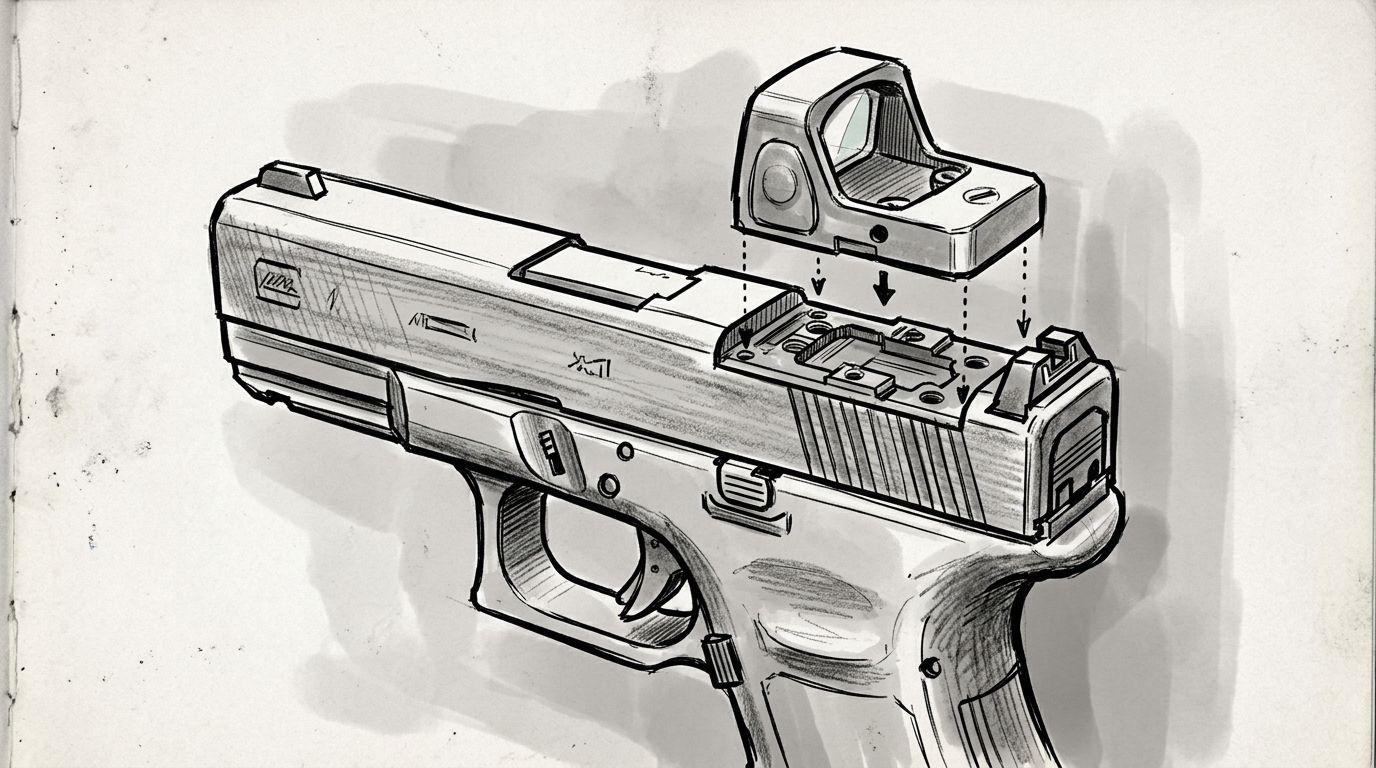
Inspect the firearm’s mounting provision and read its documentation before ordering a sight. A slide cut, mounting plate and rail are different interfaces. A footprint name describes an interface; it does not confirm that the supplied screws, plate or sight height suit your complete assembly.
With a pistol, check the exact slide variant rather than the model family alone. With a rifle, confirm the rail or base and the mount required by the optic. Do not assume that a sight intended for one platform arrives ready for another.
The Osight red dot range is the next place to compare options once you have that mounting brief. Use the individual model’s published specifications and installation instructions. Have a qualified gunsmith resolve conflicting fit information rather than modifying parts to make them appear compatible.
- Match the optic footprint to the documented slide cut or plate.
- Confirm screw specification and permitted screw length.
- Check the manufacturer’s torque and thread-treatment instructions.
- Assess clearance around moving parts and controls.
- Verify holster or case fit with the intended assembly.
Check weather protection and emitter design
Compare construction only after confirming fit. In an open-emitter sight, the emitter path is exposed to the surroundings. An enclosed-emitter design places that path inside a housing, reducing direct exposure to debris. Neither description, by itself, supplies a waterproof rating or a recoil qualification.
Read an ingress-protection rating as a defined test classification, not an unrestricted promise. An IP rating does not mean every type of immersion, cleaning chemical or impact is covered. Look for the exact rating and the manufacturer’s conditions, then compare those conditions with your route.
Use the red dot durability guide to structure the comparison, but retain the model documentation as the basis for your decision. Documented protection beats an unsupported durability label. A metal housing alone does not establish the strength of the complete optic.
- Identify whether the sight has an open or enclosed emitter.
- Record the exact published ingress-protection rating.
- Check any stated operating-temperature limits.
- Look for explicit recoil or platform suitability information.
- Read cleaning instructions and restrictions before field use.
Evaluate the reticle through your own eyes
Compare reticles by looking through the sight, where possible, rather than judging a product photograph. Dot appearance depends on brightness, background and your vision. Astigmatism can make an illuminated dot appear distorted; a more complicated reticle does not automatically solve that problem.
MOA describes angular size. At 100 metres, 1 MOA spans approximately 29 millimetres; 2 MOA spans approximately 58 millimetres, and 6 MOA approximately 175 millimetres. These are geometric subtensions, not accuracy guarantees. They explain why a larger dot covers more of a distant target.
A small dot gives a finer reference but can be harder for some users to perceive. A larger dot is more visible to some users but covers more detail. Multi-reticle selection adds choice, not proof of better suitability.
- Compare reticles against both bright and shaded backgrounds.
- Check whether usable brightness settings suit your eyes.
- Separate apparent dot distortion from dirty glass.
- Choose angular size according to the detail you need to retain.
- Confirm whether brightness control is manual, automatic or selectable.
Plan battery access and inspection
Read the battery specification and replacement procedure yourself before treating battery life as a buying advantage. Published runtime is meaningful only with its stated brightness setting and operating conditions. A figure without those conditions is a weak basis for comparing models.
Battery access also changes maintenance effort. If replacement requires removing the sight, the installation needs subsequent verification according to the manufacturer’s instructions. Side or top access can avoid removing the optic, but the exact model’s procedure still governs seals, covers and fasteners.
Write a maintenance record that identifies the sight, battery type and replacement date. For shared equipment, assign responsibility explicitly. An automatic brightness or motion feature does not remove the need to inspect the sight before an outing.
- Confirm the exact battery type in the model documentation.
- Record the conditions attached to any runtime claim.
- Check whether replacement requires optic removal.
- Follow instructions for battery covers and seals.
- Assign an inspection owner and record maintenance dates.
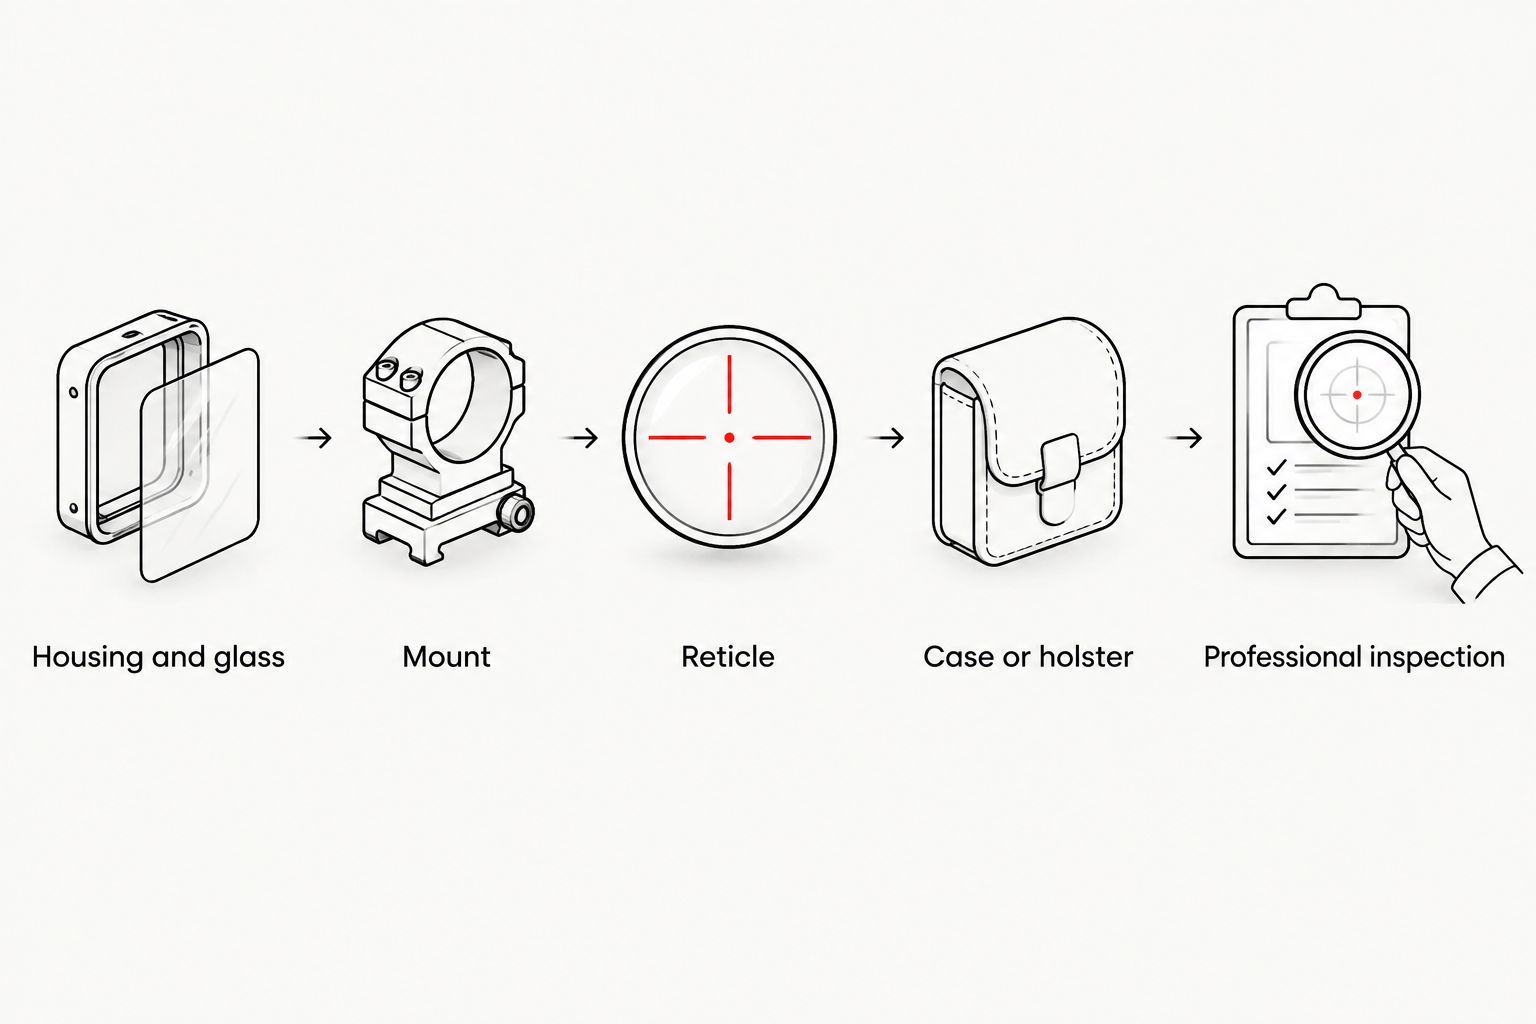
Inspect the complete setup safely
Start with the unloaded firearm, ammunition removed from the work area and the manufacturer’s handling instructions. Inspect the sight and mounting assembly without attempting repairs beyond your competence. Installation questions belong with a qualified gunsmith or the appropriate manufacturer.
A physical inspection checks visible condition; it does not prove that the sight’s alignment remains correct. Follow the relevant manufacturer instructions and use an authorised range with suitable supervision for any required confirmation. Do not treat a power-on check as evidence that the whole assembly is ready.
Make the inspection sequence repeatable. That matters when fatigue, a changed case or a different operator interrupts your normal routine. Keep cosmetic marks separate from cracks, loose components and other defects that require attention.
- Check the housing and glass for visible damage.
- Inspect the mount for looseness or displaced components.
- Confirm the reticle is visible and controls respond.
- Check that the protective case or holster remains compatible.
- Refer damage or uncertain installation to a qualified professional.
Prepare cleaning and handover procedures
Use the optic manufacturer’s cleaning method as your starting point. Avoid improvising with solvents, abrasives or compressed air unless the instructions permit them. Cleaning exposed glass and maintaining a sealed battery compartment are different tasks; keep the procedures separate.
Transport deserves equal attention. Choose a case or cover that does not press against controls, interfere with safe storage or conceal damage during inspection. Check the assembly after an unexpected impact rather than assuming a durable housing makes verification unnecessary.
For equipment handed between guides, include the mounting configuration and maintenance status in the handover. That prevents the next user from having to infer whether a battery change, repair or inspection took place.
- Keep approved lens-cleaning materials with the equipment kit.
- Follow instructions for removing loose grit before wiping.
- Check covers and seals according to the model documentation.
- Record impacts, faults and any professional inspection.
- Include battery and mounting information in each handover.
Compare the main options
Choose the option that addresses your stated requirement with the fewest unresolved fit questions. Emitter enclosure, reticle choice and magnification answer different questions. They are not interchangeable indicators of quality.
The table compares design approaches rather than assigning unverified specifications to individual products. A multi-reticle sight can also be open or enclosed, so read those rows as separate buying criteria.
| Option | Best for | Main advantage | Key limitation |
|---|---|---|---|
| Open-emitter red dot | Buyers whose fit and maintenance requirements suit an exposed emitter | The design can meet a straightforward non-magnifying aiming requirement | Debris can obstruct the exposed emitter path; protection remains model-specific |
| Enclosed-emitter red dot | Guides prioritising protection of the emitter path | The housing separates the emitter path from direct environmental exposure | Exterior windows still need care; enclosure does not establish waterproofing |
| Multi-reticle sight | Buyers who have compared reticles and need selectable aiming references | You can select among the model’s documented reticle options | Extra reticle choices do not resolve mounting or vision problems |
| Magnified optic | Buyers whose task requires enlarged target detail | Magnification provides a larger image for evaluating detail | Eye relief, mounting and the viewing position need separate assessment |
For Osight red dot sights, check the exact model rather than transferring a specification from another series. The supplied brand range includes SE Series, K Series and XE AMRS, but a series name alone is not enough to establish footprint, battery access or environmental protection.
Check the Osight range
Compare model documentation with your mounting, reticle and maintenance requirements.
Common mistakes outdoor adventure guides make
Buying before checking carrying equipment
A sight can match the mounting interface yet conflict with the holster or case. That creates another purchase decision and can undermine the carrying arrangement you already use. Check the complete assembly, including the mount and protective equipment, before committing to the optic.
Best correction: treat mounting fit and carrying fit as separate checks. A photograph of a similar firearm is not confirmation for your exact setup.
Treating enclosure as an unrestricted weather guarantee
An enclosed emitter addresses the emitter path. It does not prove resistance to every water exposure, establish impact performance or excuse poor battery-cover maintenance. External glass can still collect water and dirt.
Best correction: compare the published protection rating and its conditions with your working environment. Keep cleaning and inspection in the plan regardless of emitter design.
Choosing a reticle from a specification alone
The smallest dot is not automatically the most usable dot for your eyes. The most elaborate reticle is not automatically the clearest. Product images cannot reproduce your view through the actual optic in changing light.
Best correction: assess the sight directly where possible, with your normal corrective lenses. Use MOA to understand angular coverage, not as a promise of shooting performance.
Assuming a battery change is the whole maintenance task
A new battery addresses power supply, not damaged glass, a loose mount or a disturbed installation. Removing the sight during replacement introduces another reason to verify the assembly according to its instructions.
Best correction: record what changed and what was checked. Keep installation work, power checks and range confirmation distinct in your maintenance record.
Confusing an optic with observation equipment
A conventional red dot does not magnify wildlife, identify distant features or replace binoculars. Choosing one because it appears faster or simpler leaves the observation requirement unanswered.
Best correction: define what you need to see before selecting an aiming system. Carry and use the observation equipment appropriate to your guiding role.
FAQ
What should outdoor adventure guides check before buying a red dot sight?
Check the exact mounting interface, carrying-equipment fit and documented environmental protection first. Then compare reticle visibility, battery access and the maintenance procedure against your working conditions.
Is an enclosed-emitter red dot better for outdoor guiding?
An enclosed emitter is better suited to protecting the emitter path from direct exposure to debris. It does not automatically make the whole sight waterproof or more impact-resistant; those claims require model-specific documentation.
Will an RMSc-footprint sight fit any optics-ready pistol?
No, an RMSc footprint does not establish compatibility with every optics-ready pistol. Confirm the exact slide cut or plate, screw specification, clearances and installation instructions for the complete assembly.
What does MOA mean when choosing a red dot?
MOA is an angular measurement that describes how much of the target the dot covers. At 100 metres, 1 MOA spans approximately 29 millimetres; that describes coverage, not an accuracy guarantee.
Does replacing the battery mean removing the sight?
Battery replacement requires sight removal on some designs, but not on every design. Check the exact model’s access arrangement and follow its instructions for replacement and subsequent verification.
Can a red dot replace binoculars on a guided outing?
No, a conventional non-magnifying red dot cannot replace binoculars for observation. It supplies an aiming reference rather than an enlarged view for identifying distant detail.
Where should South African guides start comparing Osight sights?
Start with Osight, the official South African distributor, and compare the exact model documentation with your firearm and field requirements. Confirm purchasing, support and delivery arrangements directly rather than assuming they are identical for every order.
One last thing
The battery-access design affects more than convenience. It determines whether routine replacement disturbs the optic’s mounting position and adds installation verification to your maintenance work. That is a practical buying criterion for equipment used across repeated outings.
Before ordering, write down the footprint, battery procedure, carrying-equipment compatibility and published protection rating. If any entry remains unresolved, resolve it first. A shorter feature list with confirmed fit is a better decision than a longer feature list attached to an uncertain installation.