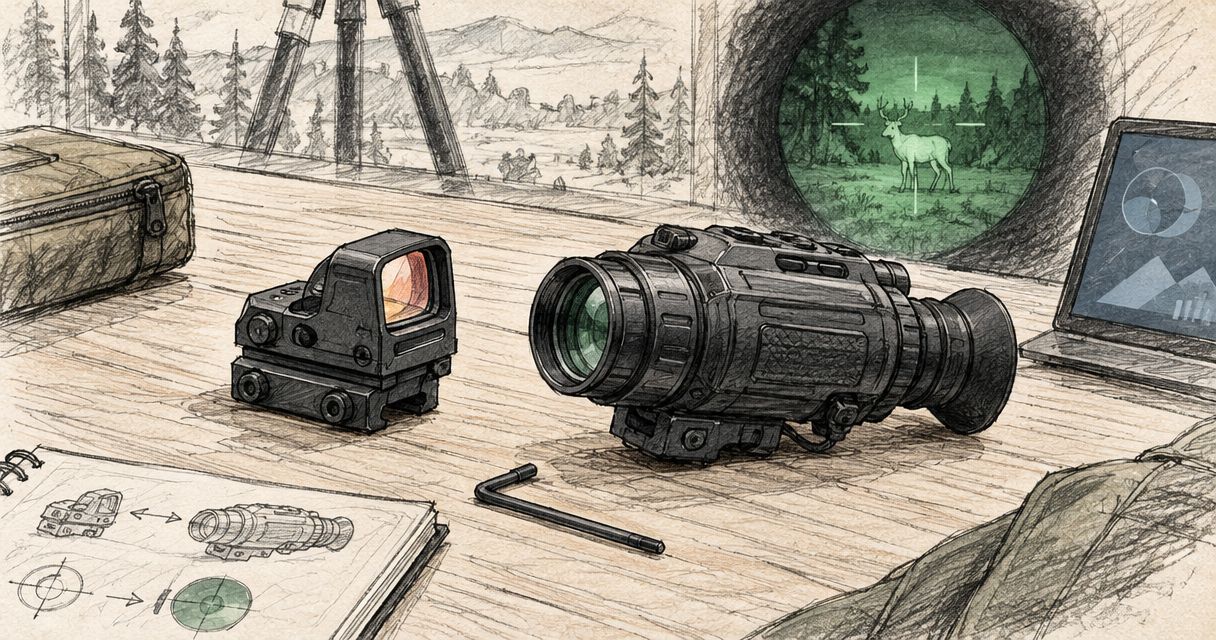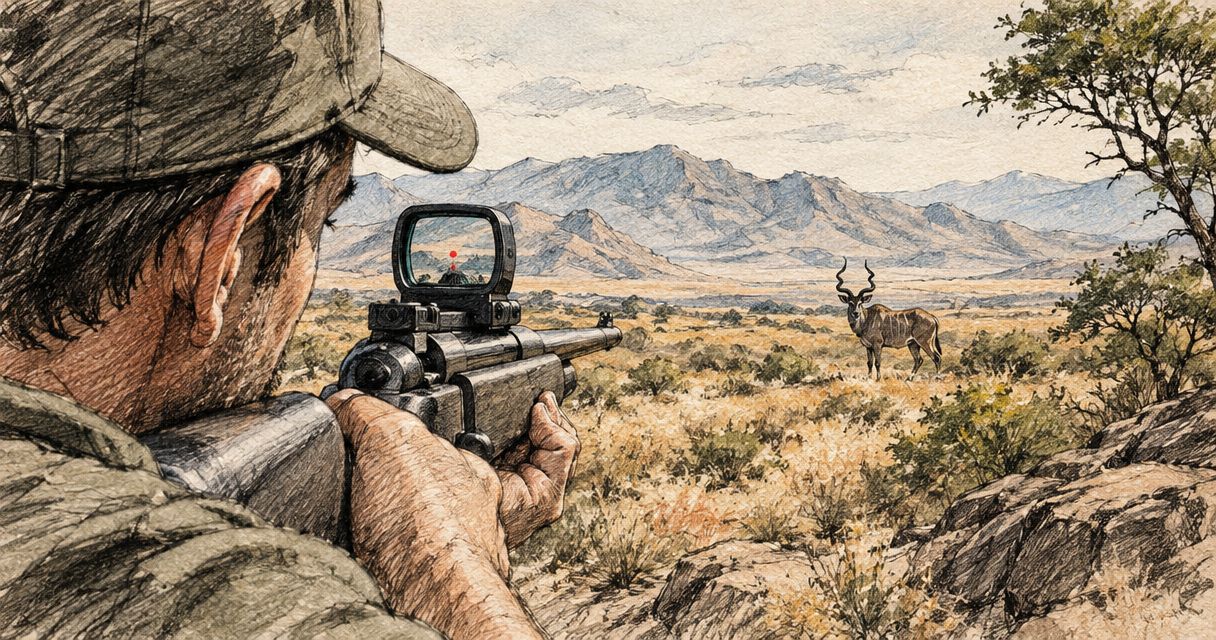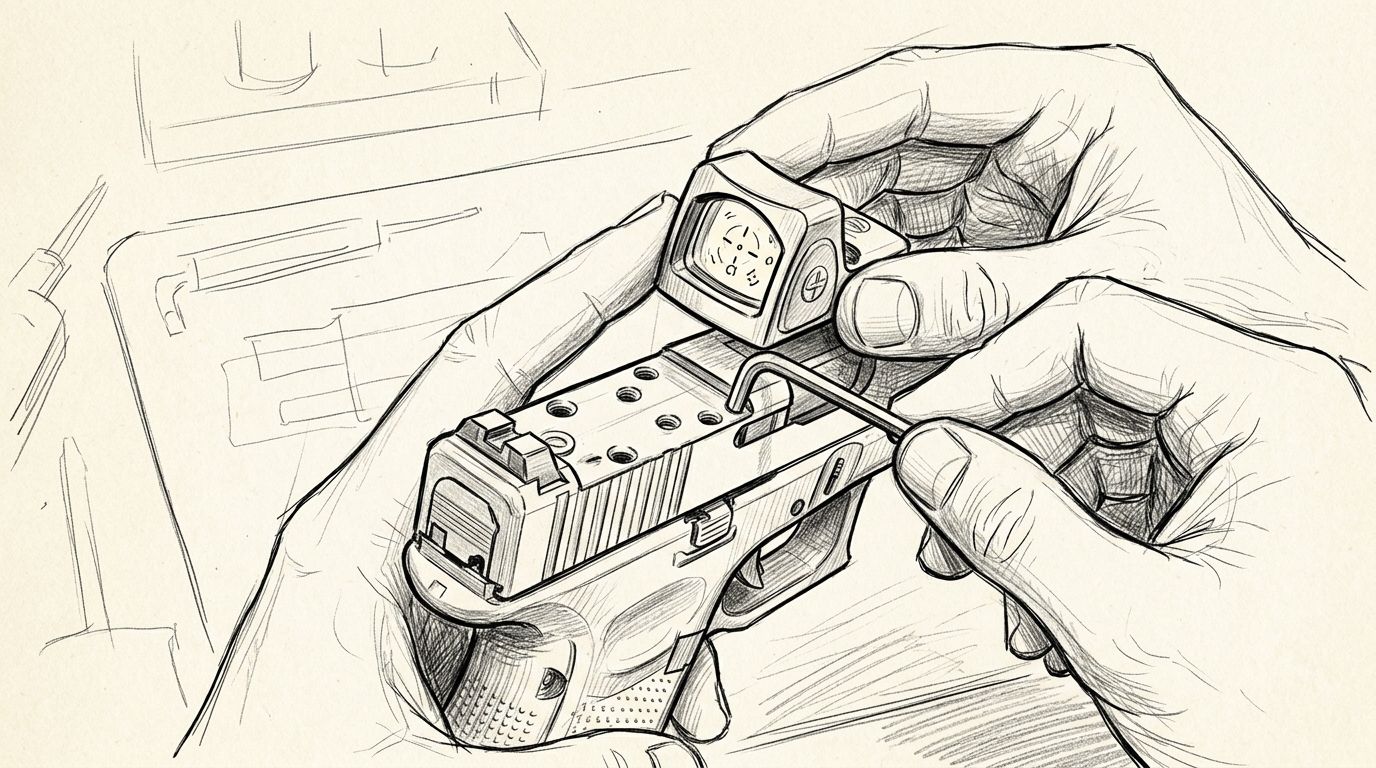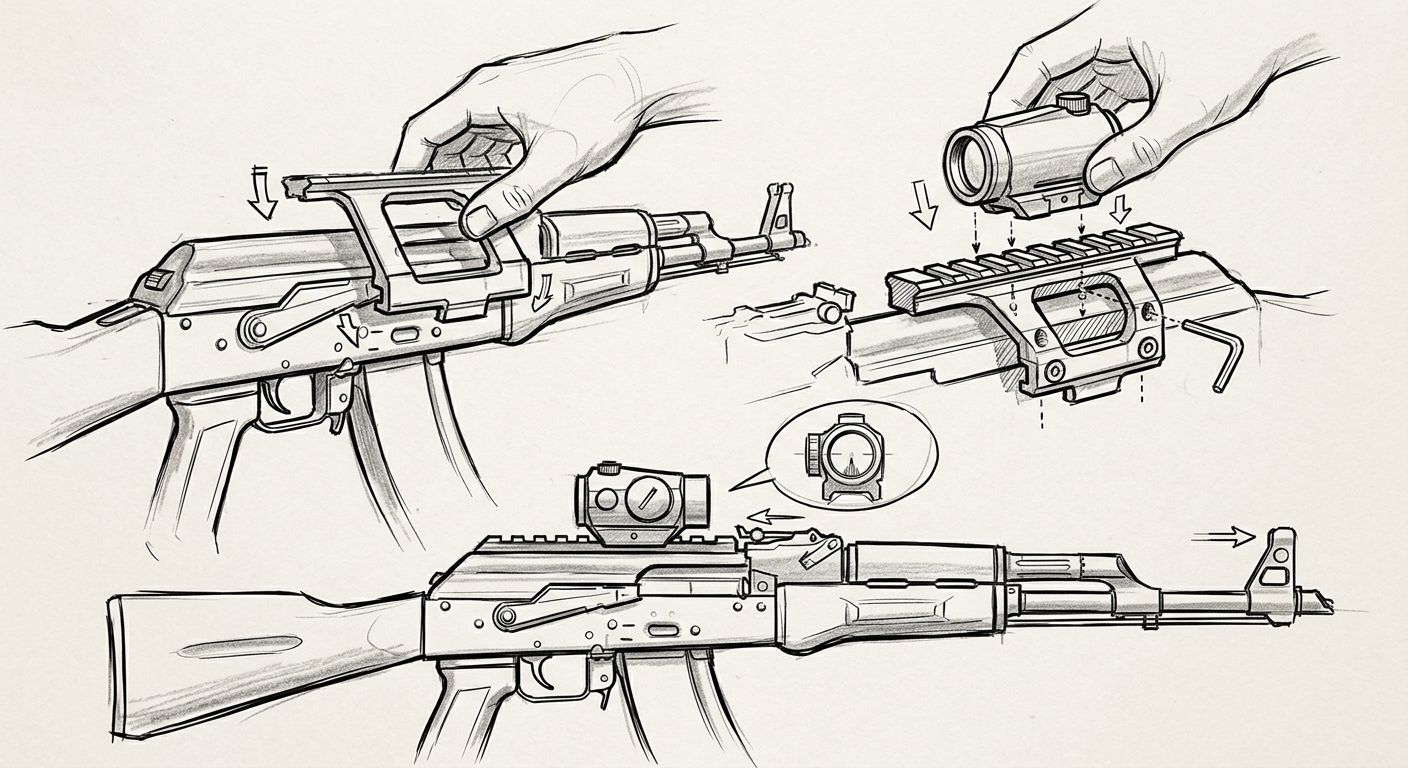
Mounting an Osight red dot on an AK-pattern rifle comes down to three decisions: which mount style fits your rifle, whether the mount matches your optic's footprint, and how you verify zero afterwards. This guide covers all three, from the bench to the range, for licensed South African owners fitting an Osight red dot sight.
- To mount a red dot sight on an AK-pattern rifle, pick a mount that fits your receiver, then match it to the optic footprint.
- Side-rail and top-cover rail mounts are the two main routes. Each has a different effect on zero retention and iron sight use.
- Degrease threads, apply thread locker, and tighten to the mount maker's torque spec. Never guess.
- Zero at the range after mounting, then re-check after the first 50 rounds.
- Osight is the official South African distributor. Confirm your exact model's footprint before you buy a mount plate.
Why this matters
AK-pattern receivers were not built for optics. The stamped top cover moves under recoil, and the factory rear sight sits far forward on the rail. A red dot only holds zero if the mount is rigid and the optic sits firmly on it.
Most failures come from the mount, not the optic. A loose side rail, a top cover that flexes, or a plate screw without thread locker all produce the same complaint: the zero walks.
Before you start
- You need: the rifle, an Osight red dot, a mount that fits your receiver, the correct footprint plate or adapter for the optic, a degreaser, thread locker, the right-size drivers or hex keys, and a torque driver if the mount maker specifies values.
- Legal and safe: you must hold a valid licence for the firearm. Work in a clear area with ammunition removed from the room.
- The gotcha: footprint compatibility. Osight lists footprint details per model, including RMSc and MOS slide-mount references. Do not assume your optic bolts straight onto your mount. Check the model's published specifications on osight.africa first, and buy the plate that matches.
Pick your mount style
There are three common routes on an AK-pattern rifle. Each trades cost, zero retention and sight line differently.
| Mount style | How it attaches | Best for | Main drawback |
|---|---|---|---|
| Side rail | Bolts or clamps to the left side of the receiver, often using the existing dovetail | Keeping the factory top cover and iron sights | Optic sits offset, higher cheek weld needed |
| Top cover rail | Replaces the stock top cover | Simple swap, optic sits on top | Zero depends on cover lockup |
| Rear sight block or dust cover mount | Replaces or sits behind the rear sight | Rifles where lockup is a worry | More gunsmithing, may change iron sight use |
Side-rail mounts are the usual pick for rifles with a side dovetail. They keep zero well when the rail is seated and tightened properly.
Top cover replacements are quick, but the top cover itself must lock up tight. A cover that rocks by hand will not hold zero with an optic on it.
Receiver-fixed designs hold zero best but cost more and may need a gunsmith. If this rifle is for serious or professional use, go this route.
Switch rifles often? Pick the mount first, then the optic plate. The mount is the harder part to change later.
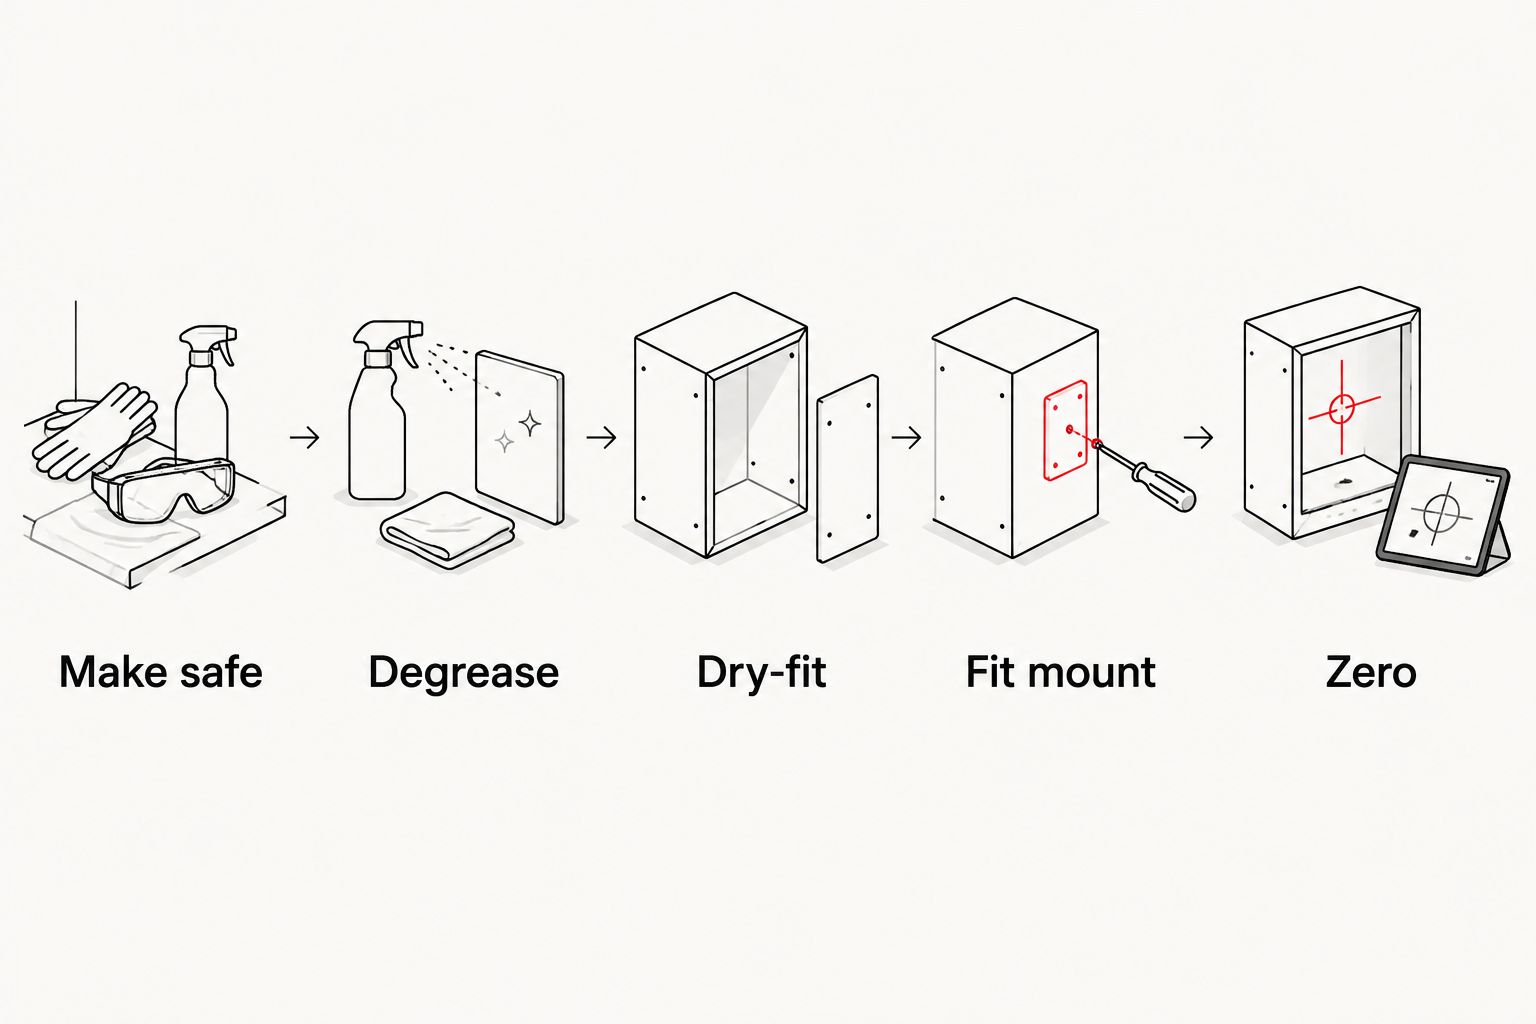
Step 1: Make the rifle safe
- Remove the magazine.
- Cycle the action and lock it open.
- Check the chamber visually and by touch.
- Remove all ammunition from the work area.
Expected result: an empty rifle you have verified yourself, with no live rounds anywhere near the bench.
Step 2: Prepare the mount and rifle
- Remove the factory top cover if you are replacing it, or locate the side dovetail if you are using a side rail.
- Wipe the mounting surfaces with degreaser. Oil on the contact faces lets the mount creep.
- Dry-fit the mount. Nothing should rock, shift or leave a visible gap.
- Read the mount maker's instructions for clamp or screw sequence before you tighten anything.
Expected result: a mount that seats by hand without force and has no side-to-side play when dry-fitted.
Step 3: Install the mount
- Apply a small amount of thread locker to the mount screws. Use only the type the mount maker recommends.
- Seat the mount fully against the rail or receiver.
- Tighten the screws in small, alternating steps so the mount pulls down evenly.
- Finish to the mount maker's torque spec. If none is published, tighten firmly and snug, never to the point of stripping.
- Wait for the thread locker to cure as per its instructions before shooting.
Expected result: a mount that does not move under hand pressure and has no gaps at the contact surfaces.
Step 4: Fit the optic to the mount
Most red dots reach the mount through a footprint plate or direct-mount pattern. Footprint is the bolt pattern the optic uses, and it decides what plate you need.
- Match the optic footprint to the plate. For optics that use an RMSc-type footprint, see the dedicated RMR footprint mount guide for the plate and screw details.
- Degrease the plate screws and optic base.
- Apply thread locker to the screws.
- Fit the optic onto the plate and start all screws by hand before tightening any of them.
- Tighten evenly, in a cross pattern if there are four screws.
- Check that the optic sits square and has no rotation relative to the rail.
Expected result: the optic sits square on the mount, nothing wobbles, and the battery compartment and adjustment turrets remain accessible. Side-loading battery designs are convenient here because you can swap the battery without removing the optic.
A crooked optic means a canted dot. If the dot looks level but the rifle is not, you will shoot to the side at range. Fix it now, not at the range.
Step 5: Check iron sight and co-witness
With the optic fitted, look through it with your normal cheek weld.
- Can you still see the iron sights? On a side-rail mount you usually can. On top-cover mounts the optic may block the rear sight.
- Is the dot centred in the window at your natural shoulder position? If you must crane your neck, the mount is too high or too far back for you.
- Does the optic hit the charging handle or top cover latch when cycling? Cycle slowly with the rifle empty and confirm full travel.
Backup irons matter for hunting and defence use. See the guide on red dot sights for backup iron sight pairing for how to choose an optic that works with them.
Expected result: a clear sight picture through the optic, free operation of the action, and a decision on whether the irons stay usable.
Step 6: Zero the optic
Zeroing is where an AK-pattern setup proves itself or fails.
- Fit the battery and set the dot brightness for the lighting you will use.
- Fire a group from a stable rest at the distance you choose for your use. Pick the zero distance to suit the game or target, and keep it consistent.
- Read the group centre against the aim point.
- Adjust windage and elevation using the turrets. The optic's published click value tells you how far each click moves the point of impact.
- Fire a confirming group.
- Repeat until the group centre sits where you want it.
For a detailed range routine, follow the zeroed rifle mounting workflow.
Expected result: a tight group centred on the aim point, confirmed with a second group.
Step 7: Re-check after the first rounds
Fresh mounts settle. Fire at least one more group after the first 50 rounds and check the screws.
- If the zero held, you are done.
- If the group moved, the mount or plate is the usual cause. Re-degrease, re-apply thread locker, and re-torque.
- Mark the screw heads with a paint pen or torque stripe. A broken stripe shows movement at a glance.
Expected result: a rifle that holds zero over repeated range sessions.
Second variant: swap an optic onto an already-mounted rail
If the mount is already on the rifle and you are moving an Osight red dot onto it from another optic:
- Remove the old optic and clean the plate screws.
- Confirm the new optic's footprint matches the plate.
- Fit the new optic with fresh thread locker.
- Re-zero. Do not assume the point of impact carries over. Different optics sit at different heights and have different internal tolerances.
A swap always needs a fresh zero.
Troubleshooting
The zero keeps shifting. Check the mount first. Loose screws, oil on contact surfaces, or a top cover that rocks are the usual cause. Re-degrease, re-apply thread locker and re-tighten.
The top cover will not lock with the new rail fitted. The replacement cover is not seated correctly in the receiver. Do not force it. Check that the recoil spring guide is positioned properly and the cover sits flush before you close it.
The dot looks fuzzy or has a flare. Astigmatism and brightness settings are the usual cause, not the optic. Lower the brightness one step and check again.
The dot is not visible in daylight. Raise the brightness setting. If it is at maximum and still faint, check the battery and its contacts.
The optic touches the charging handle or top cover latch. The mount is too far back or too low. Move the optic forward on its slot if the mount allows, or choose a different mount style.
The battery cover will not open with the optic on the mount. The plate or mount is blocking access. Choose a plate that leaves the compartment accessible, or use a side-loading battery design that does not need removal.
Customize your workflow
Once the basic setup is working, extend it.
- Add a magnifier for longer shots. See the magnifier pairing workflow for how to line one up behind the red dot.
- Add a weapon light if the rifle will be used at night or for home defence. Olight SA at olightsa.co.za stocks weapon lights.
- Source extra mounts or accessories not stocked on Osight at torchsa.com.
Osight South Africa is the official distributor, and the SE Series, K Series and XE AMRS models each have their own published specifications. Pick the model for your use first, then buy the mount and plate to suit it.
FAQ
What is the best way to mount a red dot sight on an AK-pattern rifle?
Use a rigid mount designed for your receiver, such as a side rail or a replacement top cover rail. Match the optic footprint to the plate and degrease and lock every screw.
Does a red dot hold zero on an AK-pattern rifle?
Yes, when the mount is rigid and fully seated. Zero loss usually comes from a loose mount, a top cover that rocks, or screws without thread locker.
Can I keep my iron sights with a red dot on an AK?
It depends on the mount. Side-rail mounts usually leave the irons visible. Top cover rail mounts can block the rear sight, so check the sight picture before buying.
Do I need a gunsmith to fit a red dot to an AK?
Not always. Side rails and top cover replacements are usually bolt-on jobs. Fixed receiver or rear sight block mounts can need a gunsmith. Follow the mount maker's instructions.
What footprint do Osight red dots use?
It varies by model. Osight publishes footprint details such as RMSc and MOS slide-mount compatibility per product. Check your exact model's specifications before you buy a plate.
How often should I re-check my red dot mount?
Re-check after the first 50 rounds, then before any hunt or competition. Torque stripes on the screws show movement immediately.
Do I need to re-zero after swapping optics on the same mount?
Yes. Different optics sit at different heights and have different internal tolerances, so the point of impact will not carry over.
One last thing
Do the dry-fit and the torque stripe even if you are in a hurry. Those two steps cost a few minutes and catch most mount failures before you spend ammunition finding them at the range.