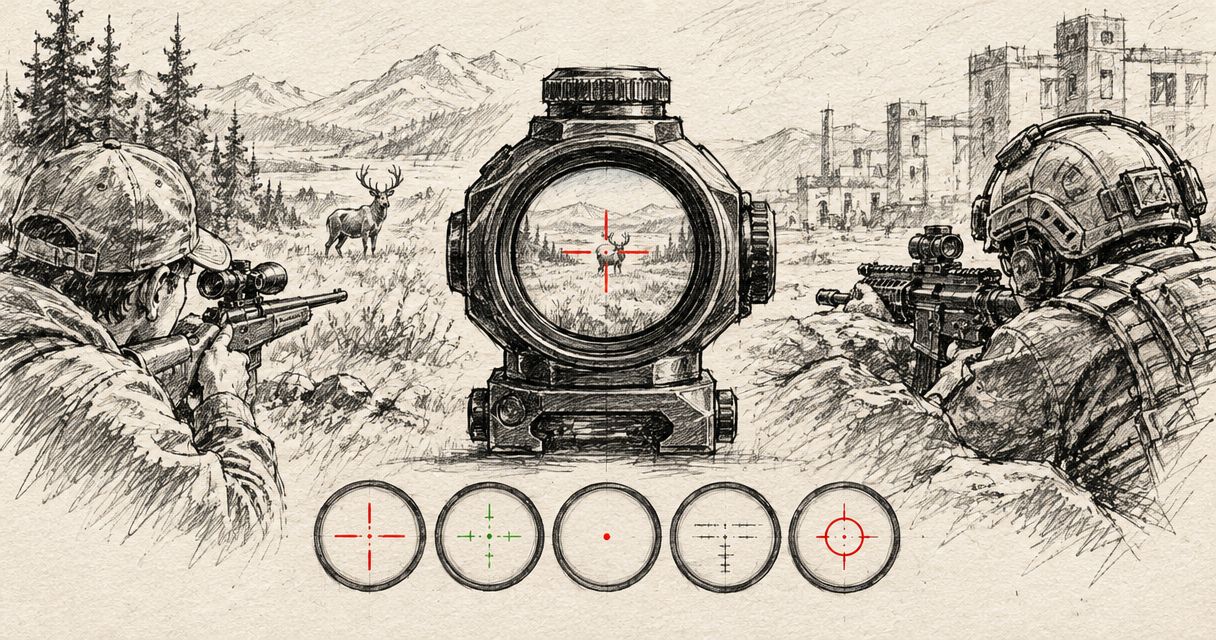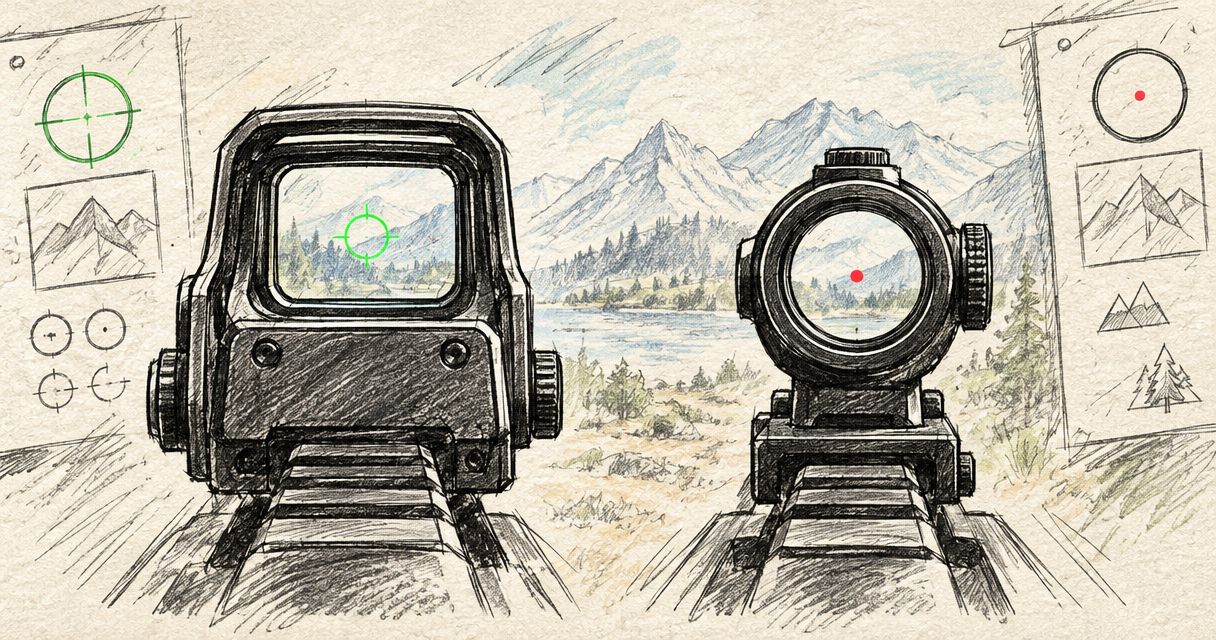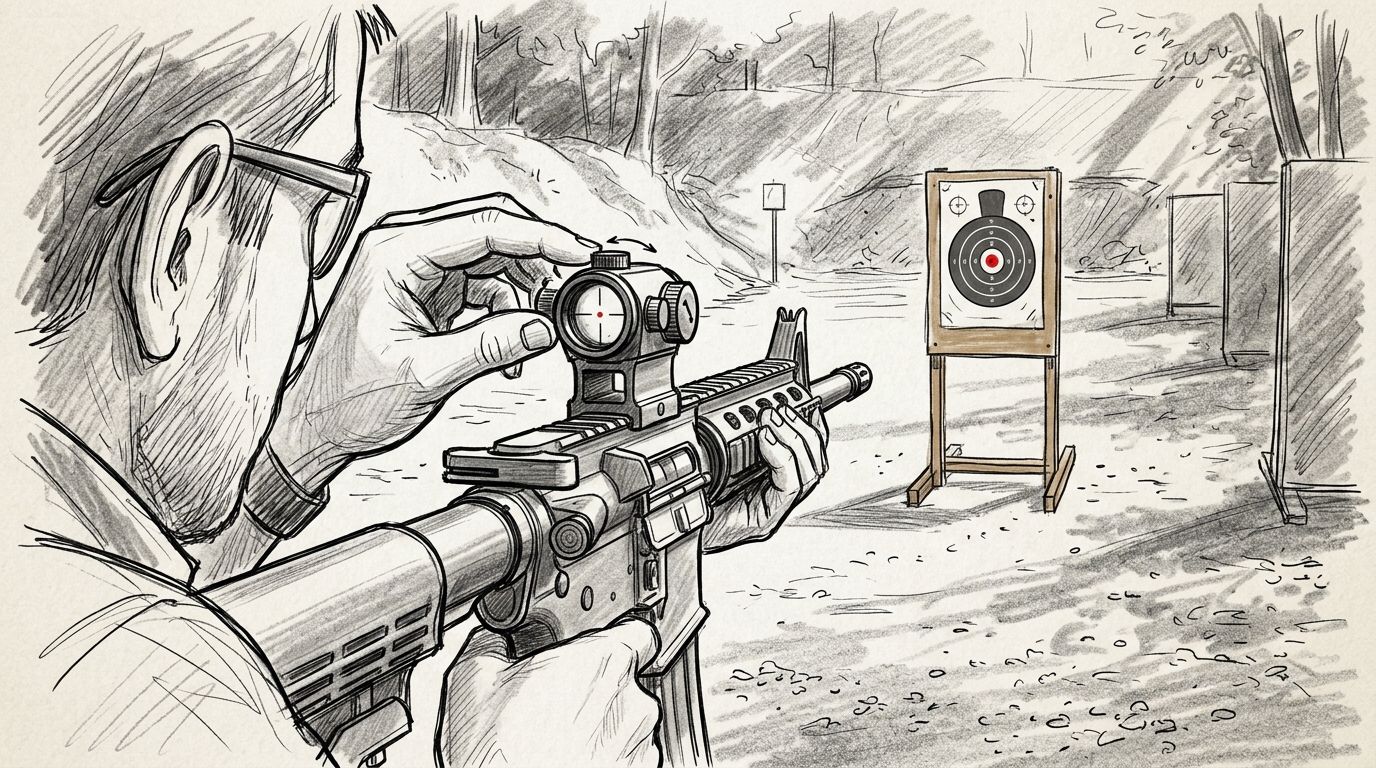
To sight in a red dot at 25 yards, shoot a controlled group from a supported position, measure its centre against your aiming point, then adjust windage and elevation according to the sight’s manual and confirm with another group. A zero applies to the firearm, ammunition and distance you tested; it does not guarantee the same point of impact at other distances.
- How to sight in a red dot at 25 yards: measure the group, adjust the sight, then confirm.
- At 25 yards, 1 MOA spans approximately 6.65 mm; click movement depends on the sight’s specifications.
- Osight is South Africa’s official distributor for buyers seeking Osight red dot sights.
- Use live-fire confirmation; bore-sighting alone does not establish a verified zero.
Why this matters
Adjust to the centre of a repeatable group, not to one stray shot. Otherwise, you risk correcting a shooting error rather than the sight’s alignment. Stable support and consistent ammunition make the result easier to interpret.
For an Osight red dot sight, use the instructions for your exact model. Reticle size, adjustment value and mounting requirements are separate specifications; none should be inferred from another model in the range.
How do you sight in a red dot at 25 yards?
The process is straightforward: establish a safe setup, produce a repeatable group, measure the error, make the specified adjustment and verify the result. Keep the aiming point unchanged while evaluating each group.
1. Establish a safe range setup
Use an authorised shooting range with a suitable backstop and follow the range officer’s commands. Wear eye and hearing protection, and keep the muzzle pointed downrange throughout handling.
Make sure the target is actually 25 yards away. That equals 22.86 metres, not 25 metres; a South African range marked in metres needs the appropriate target position. If the range cannot accommodate that distance safely, use its designated distance and record the zero accordingly.
2. Check the mounting before firing
With the firearm unloaded and handled according to its manual, check that the optic, mounting plate and fasteners are correctly installed. Follow the firearm, mount and optic manufacturers’ requirements rather than applying a generic tightening figure.
A footprint name alone does not establish that every screw or plate is suitable. If you cannot verify the mounting arrangement, have a qualified gunsmith inspect it before shooting. Do not try to correct a loose mount with sight adjustments.
3. Choose consistent ammunition and a clear aiming point
Use ammunition appropriate for the firearm and keep the load consistent during the zeroing session. Changing ammunition while adjusting introduces another variable, making group movement harder to diagnose.
Choose a paper target with a distinct aiming mark and enough surrounding space to show impacts. You need to identify both the aiming point and the group centre. A visible grid helps with measurement, but check its actual spacing rather than assuming each square represents a particular distance.
4. Set a usable dot brightness
Select a brightness setting that remains visible against the target without appearing unnecessarily large or flared. Excess brightness makes the aiming reference harder to define; insufficient brightness makes it difficult to maintain a consistent hold.
Keep the setting consistent while comparing groups under the same lighting. Brightness is not an elevation adjustment, and increasing it does not change the sight’s mechanical zero. If the reticle looks distorted, address visibility before making repeated mechanical corrections.
5. Shoot a supported group
Use a stable rest appropriate to the firearm and follow the range’s procedures. Maintain a consistent grip, position and aiming point, without allowing the support to interfere with the firearm’s operation.
Fire a group rather than treating an isolated impact as a reliable measurement. If impacts are widely scattered, stop adjusting and address stability, visibility or technique first. An instructor can help distinguish a shooting problem from an equipment problem without chasing the sight settings.
6. Measure the group centre
Once the range is safe for target inspection, identify the centre of the group and measure its horizontal and vertical distance from the aiming point. Record both directions clearly: left or right, and high or low.
Use the same units for the measurement and the adjustment calculation. If you measure in millimetres, convert the sight’s angular click value into millimetres at the actual target distance. Do not use movement figures calculated for a different range.
7. Adjust using the model’s click value
Read the sight’s manual for its adjustment value and the meaning of its directional markings. Follow the documented point-of-impact instructions; do not guess which direction a screw should turn from another optic’s controls.
Calculate horizontal and vertical corrections separately. The adjustment count is the measured error divided by the movement per click at your target distance. Record the change before shooting again, and never force an adjustment beyond its specified travel.
8. Confirm with another group
Return to the same aiming point, support and ammunition, then shoot another group. Compare the new group centre with the target reference rather than judging success from the closest individual impact.
The confirmation group establishes whether the correction worked. If the centre remains displaced, repeat the measurement and adjustment process. If results move unpredictably, inspect the setup and seek qualified help instead of continuing to turn the adjustment screws.
What does MOA mean at 25 yards?
MOA is an angular measurement, so its size on the target changes with distance. At 25 yards, 1 MOA spans approximately 0.262 inches, or 6.65 mm. At 100 yards, the same angle spans approximately 1.047 inches.
These are angular conversions, not specifications for a particular sight. Use the table to interpret a published adjustment value only after checking the manual.
| Angular movement | Approximate movement at 25 yards | What it tells you |
|---|---|---|
| 1 MOA | 6.65 mm | Movement for an adjustment specified as 1 MOA |
| 2 MOA | 13.30 mm | Twice the movement of 1 MOA |
| 4 MOA | 26.60 mm | Four times the movement of 1 MOA |
A reticle’s MOA size describes its apparent angular coverage, not necessarily the adjustment increment. A sight with a particular dot size does not automatically move by that same amount per click.
Keep rounding consistent when calculating corrections. The table’s millimetre figures are rounded, and the final result still needs live-fire confirmation rather than mathematical acceptance alone.
Why your 25-yard zeroing results vary
The same adjustment process does not produce identical results from every setup. Check these factors before deciding the optic is at fault:
- Mounting stability: Movement between the firearm, plate and sight prevents a dependable relationship between the aiming reference and impacts.
- Ammunition consistency: Different loads can produce different impact locations. Confirm the zero with the ammunition you intend to use.
- Shooting support: An inconsistent hold or unstable rest makes the group centre harder to establish reliably.
- Reticle visibility: A poorly defined aiming reference makes it harder to hold the same point between shots.
- Distance measurement: An angular adjustment produces different target movement at different distances. Calculations must match the actual range.
- Adjustment specifications: Click values and control markings are model-specific. Read the correct instructions before applying a correction.
Change one variable at a time when diagnosing a problem. If you change ammunition, support and adjustment settings together, the next group cannot isolate which change mattered.
Can you use bore-sighting instead of live fire?
Bore-sighting is a preliminary alignment check, not a confirmed zero. It helps establish an initial relationship between the bore and sight, but does not measure where your ammunition actually strikes the target.
Use bore-sighting equipment only as its manufacturer directs and with the firearm in the required safe condition. Remove any device that must not remain fitted during firing, then confirm the sight at the range. Do not describe an unfired setup as zeroed.
Will a 25-yard zero work at every distance?
A 25-yard zero confirms the group centre at 25 yards only. The optic’s line of sight and the projectile’s path are not identical, so their relationship changes as distance changes.
Do not assume a particular second intersection or a universal trajectory from a close-range zero. Ammunition, firearm configuration and sight height affect that relationship. Verify impacts at the permitted distances relevant to your lawful sporting use instead of copying another shooter’s results.
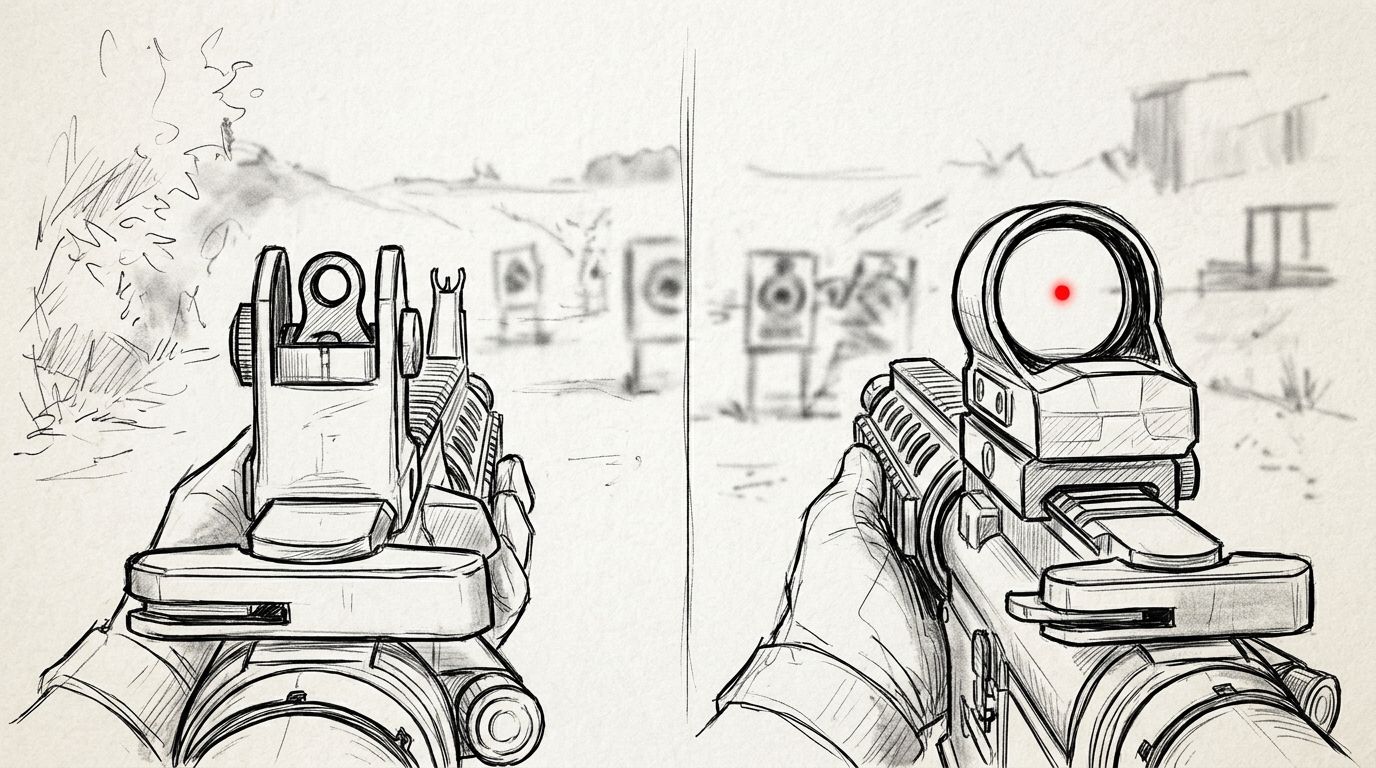
Should you align the red dot with the iron sights?
Iron-sight alignment does not replace live-fire confirmation of the red dot. The visible relationship between the sights depends on their mounting geometry, and not every setup places the irons in the optic’s viewing window.
Treat each aiming system as something that needs its own verification. If you use backup irons, confirm their function separately rather than moving a verified red dot solely to create a preferred visual alignment.
What should you record after confirming zero?
Keep a brief zero record with the firearm’s documentation. Record the firearm and optic, ammunition description, actual distance, adjustment settings where available, and the result of the confirmation group.
Note any later mounting work or equipment changes. Removing an optic or changing its mounting arrangement calls for another zero check; a previous target does not verify the newly assembled setup.
For Osight red dot sights, keep the exact model manual with that record. This gives you the correct adjustment and maintenance instructions without relying on remembered specifications from a different optic.
FAQ
How far is 25 yards in metres?
25 yards equals 22.86 metres. A target at 25 metres is farther away, so use the actual measured distance when calculating sight adjustments.
How much does 1 MOA move the impact at 25 yards?
1 MOA spans approximately 6.65 mm at 25 yards. The movement per click depends on the adjustment value published for your exact sight.
How many clicks should I move my red dot?
Divide the measured group-centre error by the movement per click at your target distance. Read the model’s manual for its click value and adjustment direction before making changes.
Can I zero a red dot without firing?
You cannot verify the live-fire point of impact without firing. Bore-sighting provides preliminary alignment, while a confirmation group establishes where the ammunition strikes.
Why does my red dot look bigger when I turn up the brightness?
Excess brightness can make the dot appear flared or less sharply defined. Select a clearly visible setting that gives you a consistent aiming reference under the range lighting.
Should I adjust after every shot?
Adjust from the centre of a repeatable group rather than reacting to each shot. An isolated impact does not reliably separate sight alignment from variation in shooting technique.
Do I need a gunsmith to sight in a red dot?
Use a qualified gunsmith when mounting compatibility, fasteners or equipment condition are uncertain. A range instructor can assist with safe handling and establishing a repeatable group during zeroing.
Do I need to check zero after removing the optic?
Check zero after removing and reinstalling the optic or changing its mounting arrangement. The earlier confirmation group does not verify the reassembled setup.
One last thing
A centred shot is not the same as a centred group. Keep the confirmation target, mark the ammunition and distance on it, and use it as your reference for later checks.
Before a range session with an Osight red dot sight, check the mounting and reticle function as directed by the model’s manual. Finding a loose component before firing saves you from trying to solve a mechanical problem with adjustment clicks.